 Admin
AdminWhen it comes to creating a bathroom that feels both luxurious and practical, the details often make the biggest impact. One detail that has surged in popularity among designers and homeowners alike is the Bathroom Tile Chair Rail. This subtle strip of tile, positioned just below the countertop or at the edge of a wall, protects surfaces from moisture while adding a refined visual break.
The concept of a chair rail originally stemmed from the need to protect wood paneling from chair backs, but in modern bathrooms it has been re‑imagined with tile to serve a dual purpose: defense against water splashes and a decorative accent that ties the room’s palette together. By choosing the right material, pattern, and installation method, a Bathroom Tile Chair Rail can become a focal point without overwhelming the space.
In this comprehensive guide we will explore the aesthetic benefits, practical considerations, and step‑by‑step installation techniques for a Bathroom Tile Chair Rail. Whether you are remodeling a compact powder room or a sprawling master suite, the insights below will help you make informed decisions that stand the test of time.
Bathroom Tile Chair Rail: Choosing the Right Style and Material
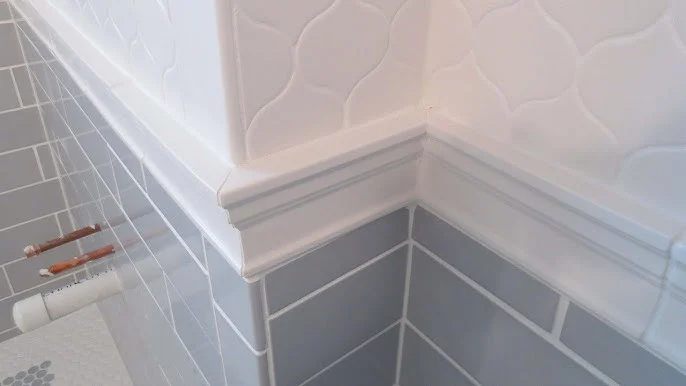
The first decision revolves around the type of tile you will use for your Bathroom Tile Chair Rail. Ceramic and porcelain tiles are the most common choices because they are dense, water‑resistant, and available in an endless array of colors and finishes. Natural stone such as marble or slate can add a high‑end feel, but it requires sealing to prevent staining.
Bathroom Tile Chair Rail: Matching Tile to Existing Surfaces
To achieve a cohesive look, select a tile that either complements or intentionally contrasts the surrounding wall tiles. For instance, a glossy white subway tile rail paired with matte gray wall tiles creates a subtle yet sophisticated rhythm. If your bathroom already features a bold patterned tile, consider a solid‑color rail that echoes one of the secondary hues in the pattern.
- Size matters: A rail that is 3‑4 inches high is typically sufficient for protecting the wall while maintaining proportion.
- Finish: Glossy finishes reflect light and can make a small bathroom feel larger, whereas matte finishes absorb light for a softer ambiance.
- Grout color: Matching grout to the tile color creates a seamless strip; contrasting grout can accentuate the rail as a design element.
When selecting the tile, also think about maintenance. A glazed surface resists staining and is easier to clean—a crucial factor in a wet environment. For households with young children or pets, a slip‑resistant texture can add safety without sacrificing style.
Bathroom Tile Chair Rail: Preparing the Wall for Installation
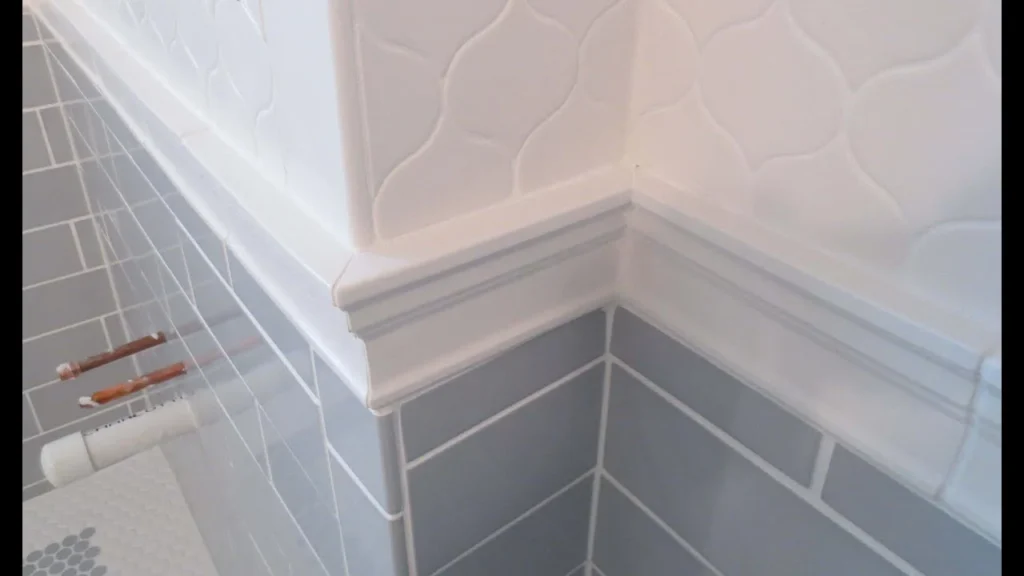
Proper preparation is essential for a lasting Bathroom Tile Chair Rail. Begin by ensuring the wall surface is clean, dry, and free of any loose material. If the existing wall is painted, lightly sand the area where the rail will sit to improve adhesion. For plaster or drywall, apply a primer designed for high‑moisture areas.
Mark the desired height using a level and a pencil, keeping the line perfectly straight across the entire length of the wall. This step prevents uneven placement, which can be especially noticeable in a bathroom where visual lines are constantly observed.
When working around fixtures such as towel bars or light switches, cut the tiles to fit using a wet saw or a rotary tile cutter. Accurate measurements at this stage avoid gaps that could allow water to seep behind the rail.
Bathroom Tile Chair Rail: Installation Techniques
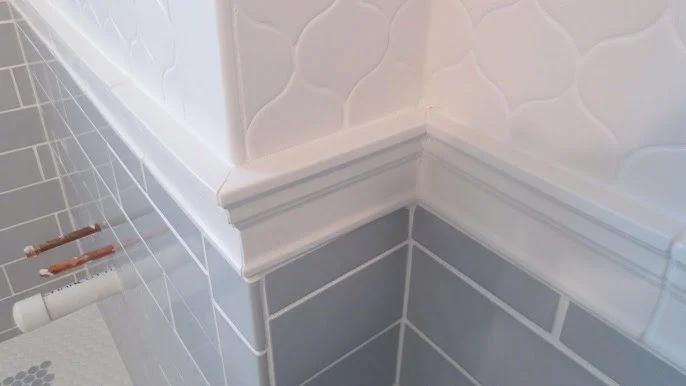
Applying thin‑set mortar is the most reliable method for bonding a Bathroom Tile Chair Rail to the wall. Spread a thin, even layer of mortar using a notched trowel, then press each tile firmly into place, twisting slightly to ensure full contact. Use tile spacers to maintain consistent grout lines.
After the tiles are set, allow the mortar to cure for at least 24 hours before grouting. Choose a grout that matches your aesthetic goals—epoxy grout offers superior water resistance, while cement‑based grout is easier to work with for DIY enthusiasts.
When grouting, work the mixture into the joints with a rubber float, removing excess material as you go. Once the grout has begun to set, wipe the tile surfaces with a damp sponge to achieve a clean finish. Finally, seal the grout if you are using a porous type to protect against moisture infiltration.
Bathroom Tile Chair Rail: Integrating with Other Bathroom Elements
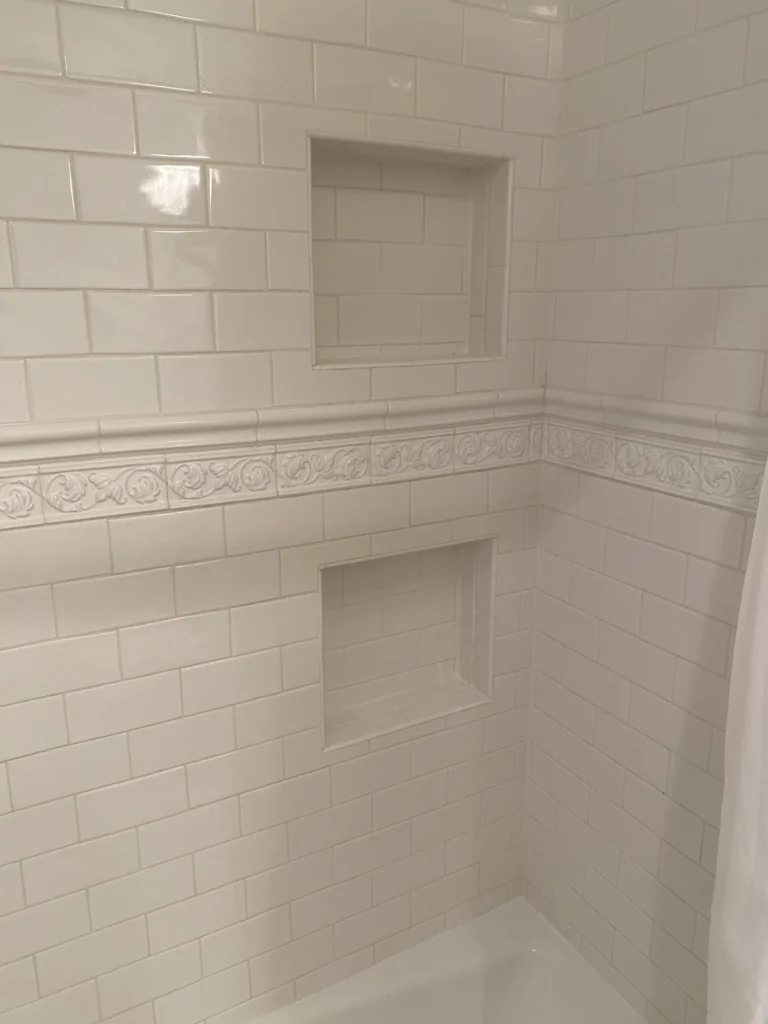
A well‑executed Bathroom Tile Chair Rail can harmonize with a variety of fixtures and accessories. For example, pairing a chrome faucet with a brushed‑nickel towel bar creates a coordinated metal palette that complements the rail’s clean lines. If your design includes wooden accents—such as a reclaimed wood vanity—consider using a wood chairs for dining table article as inspiration for selecting warm-toned hardware that balances the coolness of tile.
Flooring choices also play a role. In larger bathrooms, a neutral tile floor can be echoed in the rail’s color, while in smaller spaces a contrasting rail can draw the eye upward, creating an illusion of height. For those who enjoy layering textures, a subtle area rug for hardwood floors placed near the bathtub can soften the overall feel without competing with the tile work.
Bathroom Tile Chair Rail: Maintenance and Longevity
One of the biggest advantages of a Bathroom Tile Chair Rail is its durability. However, regular maintenance ensures it remains pristine. Wipe down the rail after each shower to prevent soap scum buildup. For tougher stains, a mixture of mild detergent and warm water applied with a soft brush will usually suffice.
Inspect the grout annually for cracks or discoloration. Promptly addressing any issues prevents water from seeping behind the tiles, which could lead to mold or structural damage. If you notice persistent staining, re‑sealing the grout may restore its protective qualities.
In high‑traffic bathrooms, consider using a clear protective sealant over the tile surface. This adds an extra layer of defense against water and cleaning chemicals, extending the lifespan of your Bathroom Tile Chair Rail.
Bathroom Tile Chair Rail: Budgeting and Cost Considerations
The cost of a Bathroom Tile Chair Rail varies based on tile material, size, and labor. Ceramic tiles can start as low as $2 per square foot, while natural stone options may exceed $10 per square foot. Labor rates differ by region, but installing a simple rail typically takes half a day for a professional installer.
To keep costs manageable, purchase tiles in bulk and request samples before committing to a large order. Many retailers offer discounts for bulk purchases, and buying the exact quantity needed minimizes waste. Additionally, DIY installation can reduce labor expenses, but be sure you have the proper tools and experience to avoid costly mistakes.
Bathroom Tile Chair Rail: Creative Design Ideas
Beyond the classic straight rail, designers are experimenting with creative variations. A zig‑zag or chevron pattern can add visual interest, while a mosaic rail offers a splash of color that ties together eclectic bathroom elements. For a vintage vibe, consider a reclaimed tile with a distressed finish, which adds character while still providing protection.
Another trend is incorporating illuminated rail systems. LED strips placed behind a translucent glass tile rail produce a soft glow that enhances the bathroom’s ambiance, especially in night‑time routines. This approach blends functionality with a touch of modern luxury.
When planning your Bathroom Tile Chair Rail, think about how it will age with your style. A timeless color palette—such as soft neutrals, muted blues, or gentle greys—ensures the rail remains appealing even as trends evolve.
Ultimately, the Bathroom Tile Chair Rail is more than a protective strip; it is a design statement that unites form and function. By carefully selecting materials, preparing the surface, and following proper installation techniques, you can create a durable, stylish feature that enhances both the aesthetics and longevity of your bathroom.
