 Admin
Admin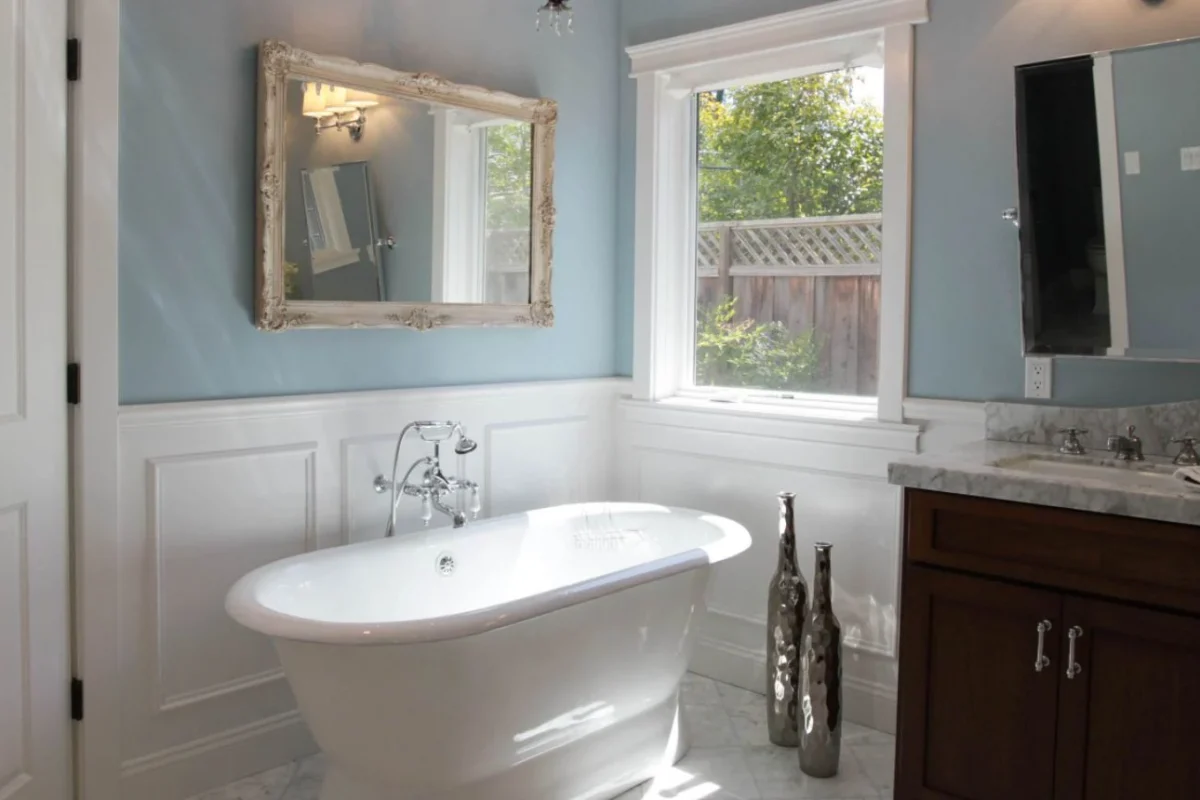
When it comes to bathroom design, the focus often lands on fixtures, tiles, and lighting. Yet, an understated element can dramatically influence both durability and aesthetics: the chair rail. Historically a hallmark of traditional interiors, the chair rail has found a fresh, functional role in contemporary bathrooms. By installing a chair rail in bathroom, homeowners gain a protective barrier against moisture‑induced damage while adding a subtle architectural accent that can tie the whole room together.
Beyond its practical benefits, a well‑chosen chair rail can serve as a canvas for creativity. Whether you favor clean, modern lines or ornate, classic motifs, the rail can be painted, tiled, or even upholstered to suit any style palette. In humid environments, the right materials and installation techniques are essential to ensure longevity and prevent mold. This guide delves into the why, what, and how of integrating a chair rail in bathroom, offering actionable advice for DIY enthusiasts and professionals alike.
We’ll explore material options, placement strategies, design trends, and maintenance tips, all while keeping the focus on achieving a harmonious balance between form and function. By the end of this article, you’ll be equipped to decide whether a chair rail in bathroom is the missing piece that will transform your space into a resilient and refined oasis.
Chair Rail in Bathroom: Benefits and Design Possibilities
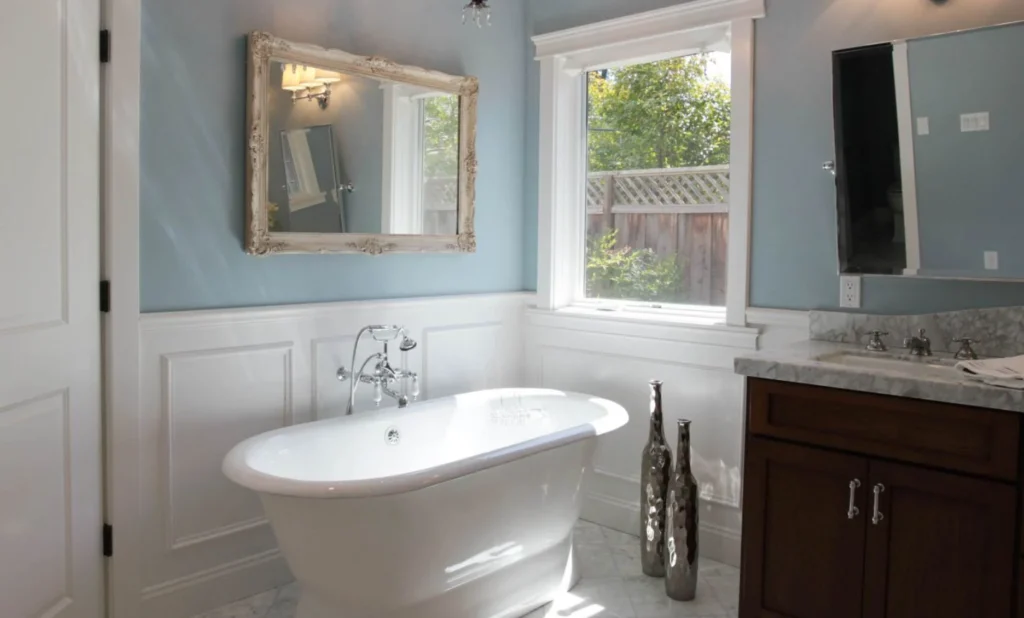
Installing a chair rail in bathroom is not merely a decorative whim; it provides concrete advantages that address common challenges in wet rooms.
- Wall protection: The rail shields lower wall sections from water splashes, steam, and everyday wear, reducing the risk of paint peeling or tile grout erosion.
- Visual definition: By breaking up large wall expanses, a chair rail creates a proportional relationship between floor and ceiling, making the space feel more grounded.
- Style versatility: From minimalist white-painted wood to intricate plaster molding, the rail can be adapted to match modern, farmhouse, or even art‑deco themes.
- Easy updates: Changing the color or finish of a chair rail is simpler than re‑tiling an entire wall, allowing homeowners to refresh the look with minimal effort.
Choosing the Right Chair Rail in Bathroom Materials
Because a bathroom is a high‑humidity environment, selecting moisture‑resistant materials is crucial. Below are the most reliable options:
- Water‑proof MDF: Engineered wood treated with sealed laminates offers a smooth surface for paint and is less prone to warping than solid wood.
- PVC or Vinyl Molding: Completely impervious to moisture, these synthetic rails are lightweight and easy to install, making them a favorite for DIY projects.
- Polymer‑coated Plaster: Traditional plaster can be reinforced with a polymer coating to resist moisture while preserving a classic look.
- Tiled Chair Rail: For a seamless continuation of a tiled wall, use smaller tiles or mosaic pieces to create a rail that doubles as an extra design element.
When deciding, consider the overall aesthetic and the level of maintenance you’re comfortable with. For instance, a tiled chair rail pairs beautifully with a subway‑tile bathroom, while a painted PVC rail works well in a sleek, modern setting.
Placement Strategies: Height, Length, and Symmetry

The height at which you install a chair rail in bathroom can influence both protection and visual impact. Traditional placement sits at 32–36 inches from the floor, but in bathrooms, adjustments may be needed based on the tub or shower height.
- Standard height (32‑36 in): Works well for most vanity‑centric bathrooms, protecting the area most exposed to splashes.
- Elevated rail (40‑48 in): Ideal for bathrooms with deep bathtubs or walk‑in showers, offering protection higher up the wall.
- Full‑wall continuity: In larger master baths, consider extending the rail around the entire perimeter for a cohesive look.
Symmetry also matters. Align the rail with other architectural features—such as the top of a vanity, the edge of a mirror, or the line of a window sill—to create a harmonious flow. If your bathroom includes multiple zones (e.g., a separate powder room), repeating the same rail height can unify disparate spaces.
Design Ideas for Chair Rail in Bathroom
Here are several creative approaches to make the chair rail a focal point rather than an afterthought:
- Contrasting paint colors: Paint the rail a bold hue while keeping the surrounding wall neutral. This technique adds depth without overwhelming the space.
- Metallic finishes: Brass or brushed nickel paints can echo faucet hardware, creating a subtle continuity between fixtures and trim.
- Patterned tiles: Incorporate a thin strip of patterned ceramic or glass tiles within the rail to introduce texture.
- Integrated shelving: Add shallow, water‑resistant shelves within the rail to hold toiletries, turning the feature into functional storage.
- Mixed‑material mashup: Combine a wooden rail with a stone or quartz tile backing for a luxe, layered appearance.
If you love themed displays, you might also explore Candy Table Ideas – Creative Inspiration for Sweet Displays for a playful sense of color coordination that can translate into bathroom accents.
Installation Guide: Step‑by‑Step Process
Below is a concise roadmap for installing a chair rail in bathroom, whether you’re a seasoned handyman or a first‑time DIYer.
- Measure and Mark: Determine the desired height and use a level to draw a straight line around the room.
- Prepare the Wall: Clean the surface, repair any cracks, and apply a moisture‑resistant primer.
- Cut the Rail: Using a miter saw, cut pieces to fit corners and around fixtures. For PVC, a fine‑toothed blade works best.
- Attach the Rail: Apply construction adhesive suitable for wet areas, then secure with stainless‑steel nails or screws for added stability.
- Seal the Joints: Use a silicone caulk designed for bathrooms to seal seams, preventing water infiltration.
- Finish: Paint, tile, or apply the chosen finish. If painting, consider a mildew‑resistant paint.
During installation, ensure all fasteners and adhesives are rated for high humidity. This prevents corrosion and maintains a secure bond over time.
Maintenance Tips for Long‑Lasting Chair Rail in Bathroom
Even the most durable chair rail benefits from regular upkeep. Follow these practices to keep it looking fresh:
- Wipe down weekly: Use a non‑abrasive cleaner to remove soap scum and prevent mold buildup.
- Inspect caulking: Reapply silicone any time you notice cracks or gaps.
- Touch‑up paint: Keep a small can of the original paint for quick spot corrections.
- Check for water damage: Look for signs of swelling or discoloration, especially after prolonged steam exposure.
Integrating Chair Rail with Overall Bathroom Aesthetics
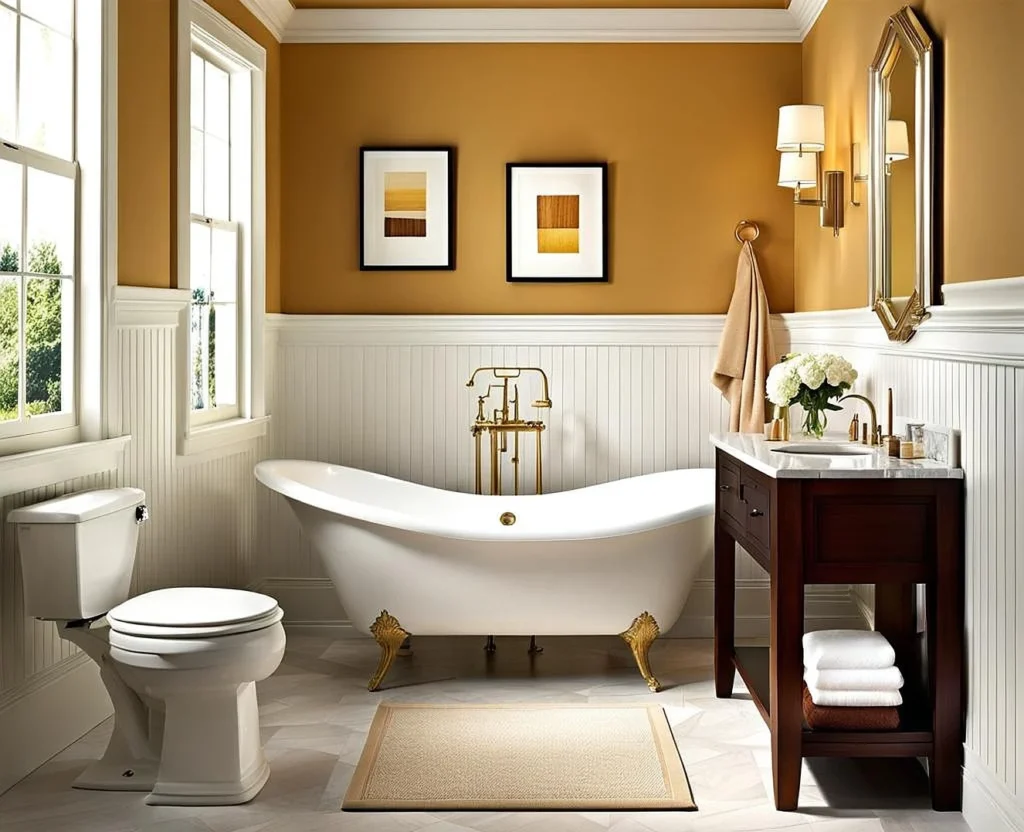
The chair rail should not exist in isolation; it must complement other design elements to achieve a cohesive look.
- Tile coordination: Match the rail’s color palette with floor or wall tiles for a unified feel.
- Fixture harmony: Choose hardware finishes that echo any metallic accents on the rail.
- Lighting synergy: Recessed lights placed just above the rail can accentuate its profile, creating a soft wash of light.
- Mirror placement: Align the bottom edge of a large mirror with the top of the rail for a balanced visual line.
For inspiration on how complementary pieces can elevate a space, explore the Bedroom Chair Ideas article, which showcases how thoughtful furniture selection can echo wall treatments across rooms.
Cost Considerations and Budgeting
Budgeting for a chair rail in bathroom depends on material choice, labor, and finishing details.
| Material | Average Cost (per linear foot) | Installation |
|---|---|---|
| Water‑proof MDF | $2‑$4 | $50‑$100 (DIY) or $150‑$250 (pro) |
| PVC/Vinyl | $1‑$3 | $40‑$80 (DIY) or $120‑$200 (pro) |
| Tiled (ceramic) | $5‑$10 | $150‑$300 (pro) |
| Plaster (polymer‑coated) | $3‑$6 | $100‑$180 (DIY) or $250‑$400 (pro) |
Remember that labor costs can vary significantly based on regional rates and the complexity of the job. If you’re comfortable with basic carpentry, a DIY approach can reduce expenses dramatically.
Eco‑Friendly Options for the Sustainable Bathroom
Eco‑conscious homeowners can select reclaimed wood treated with a low‑VOC sealant, or opt for recycled‑content PVC. Both choices reduce environmental impact while still delivering the protective qualities of a chair rail in bathroom.
Common Mistakes to Avoid
Even with careful planning, pitfalls can arise. Here are the most frequent errors and how to sidestep them:
- Incorrect height: Measure twice; a rail placed too low won’t protect splash zones, while one too high can look disproportionate.
- Using non‑moisture‑rated materials: Regular wood without proper sealing will warp and encourage mold.
- Neglecting seams: Gaps between rail sections are entry points for water; always seal with silicone.
- Overpainting: Thick paint layers can trap moisture; choose thin, breathable finishes designed for bathrooms.
Real‑World Examples: Transformative Before‑and‑After
Consider a modest 5×8‑foot guest bathroom where paint was peeling from the lower wall due to constant shower spray. By installing a PVC chair rail at 36 inches, the homeowner not only halted the damage but also introduced a crisp, white line that visually widened the space. Adding a contrasting dark‑gray paint above the rail created a subtle two‑tone effect that felt both modern and timeless.
In another case, a luxury master suite featured a freestanding tub surrounded by mosaic tiles. The designer incorporated a narrow strip of the same mosaic as a chair rail, framing the tub and providing a seamless transition between tile and painted wall. This approach eliminated the need for additional trim pieces, preserving the clean aesthetic while offering extra protection at the waterline.
Integrating Seating: A Functional Twist
While the primary goal of a chair rail is protection and decoration, you can also repurpose it as a low‑profile seating edge in larger bathrooms. By adding a thin, water‑resistant cushion that matches the rail’s finish, you create a discreet bench for putting on shoes or arranging towels. For more ideas on functional seating, the Large Sectional Couch: Choosing, Styling, and Living‑Room Integration article showcases how furniture can be both stylish and purposeful.
Future Trends: What’s Next for Chair Rail in Bathroom?
Design trends evolve, and the chair rail is no exception. Anticipated directions include:
- Integrated lighting: Low‑voltage LED strips concealed within the rail’s profile will highlight architectural details while providing subtle illumination.
- Smart materials: Moisture‑sensing paints that change color when humidity spikes could be applied to rails, offering visual alerts for ventilation needs.
- Organic textures: Hand‑carved wood or 3‑D‑printed plaster with natural grain patterns will bring a tactile dimension to bathroom walls.
Staying aware of these innovations ensures your bathroom remains both current and resilient for years to come.
Incorporating a chair rail in bathroom is a strategic move that marries practicality with design elegance. By carefully selecting materials, positioning the rail at an appropriate height, and finishing it with a style that complements the rest of the space, you create a protected, visually appealing environment that stands up to moisture and daily use. Whether you’re updating a cramped powder room or reimagining a spacious master suite, the modest addition of a chair rail can make a surprisingly profound impact. Embrace this timeless element, and let your bathroom enjoy the dual benefits of durability and refined aesthetics.
