 Admin
AdminInstalling a wax ring on a toilet is one of those home‑maintenance tasks that many homeowners dread, yet it’s essential for preventing costly leaks and foul odors. The wax ring creates the watertight seal between the toilet base and the flange, and a proper installation can extend the life of both fixtures for years. In this comprehensive guide, we’ll walk you through every detail—from gathering tools to troubleshooting common problems—so you can replace a failing wax ring with confidence.
Whether you’re dealing with a stubborn leak that has you chasing water stains on your bathroom floor, or you’re simply performing routine maintenance on an older toilet, understanding the function of the wax ring is the first step. The wax ring isn’t just a cheap gasket; it’s a meticulously engineered component that compresses under the weight of the toilet, filling microscopic gaps in the flange and creating a seal that can withstand the pressure of flushing. For a deeper dive into the science behind this humble component, check out Why the Wax Ring Matters: Function and Common Failure Modes.
Before you begin, make sure you have a clear workspace, the right tools, and a fresh wax ring (or an alternative silicone‑based seal if you prefer). This guide assumes a standard 12‑inch toilet and a typical closet flange, but the principles apply to most residential setups.
Gathering the Right Tools and Materials

A successful wax ring installation starts with preparation. Rushing into the job without the proper equipment can lead to a poorly sealed toilet, which defeats the purpose of the replacement.
- Wax ring: Choose the correct size (standard, extra‑large, or reinforced) based on your flange dimensions.
- Adjustable wrench or socket set: For removing the bolts that hold the toilet to the floor.
- Flathead screwdriver: To pry off the bolt caps and remove the old nuts.
- Putty knife or scraper: For cleaning old wax residue from the flange and the toilet’s base.
- Rubber gloves and safety glasses: Wax can be messy, and you’ll want to protect your hands and eyes.
- Bucket and towels: To catch any water that may spill when you disconnect the supply line.
- Level: To verify the toilet sits evenly after re‑installation.
Choosing the Correct Wax Ring Type
Not all wax rings are created equal. Standard rings work for most installations, but if you have a slightly warped flange or an older toilet with a thicker base, consider a reinforced ring that includes a rubber sleeve. This hybrid design offers extra resilience and can compensate for minor imperfections in the floor.
Step‑By‑Step Installation Process

1. Shut Off the Water Supply
The first and most crucial step is to turn off the water supply to the toilet. Locate the shut‑off valve behind the toilet and turn it clockwise until it stops. Open the flush handle to drain any remaining water from the tank and bowl. Use a sponge or towel to soak up residual water at the base of the tank.
2. Disconnect the Supply Line
Using an adjustable wrench, loosen the nut that connects the supply line to the bottom of the tank. Have a bucket ready to catch any drips. Once the nut is free, gently pull the supply line away from the tank.
3. Remove the Toilet
Locate the two (or sometimes three) bolts securing the toilet to the floor. These bolts are usually capped with plastic covers that can be pried off with a flathead screwdriver. Use a wrench to unscrew the nuts on the bolts. Gently rock the toilet back and forth to break the wax seal, then lift the toilet straight up. It’s a heavy piece of porcelain, so you may need an assistant.
4. Inspect and Clean the Flange
With the toilet removed, you’ll see the closet flange sitting on the floor. Check for cracks, corrosion, or any signs of damage. If the flange is broken, it must be repaired or replaced before proceeding. Use a putty knife to scrape away old wax residue from both the flange and the bottom of the toilet’s outlet (the horn). A clean surface ensures the new wax ring can seat properly.
5. Install the New Wax Ring
Place the new wax ring onto the flange, wax side up. Some installers prefer to set the wax ring on the horn of the toilet instead; either method works as long as the wax makes full contact with both surfaces. If you’re using a reinforced ring, align the rubber sleeve so it sits centered over the outlet.
6. Re‑Position the Toilet
Carefully lower the toilet onto the wax ring, aligning the bolt holes with the floor bolts. Press down firmly and evenly to compress the wax ring, creating a seal. A good rule of thumb is to apply about 30 pounds of pressure; you can achieve this by standing on the toilet bowl (if you’re comfortable) or by having a helper gently push down while you keep the toilet level.
7. Secure the Toilet
Once the toilet is seated, reinstall the nuts onto the floor bolts. Tighten them alternately (like tightening a wheel lug) to avoid warping the base. Do not over‑tighten; the bolts should be snug but not strained. After the bolts are secured, replace the plastic caps if you removed them.
8. Re‑connect the Supply Line
Attach the supply line to the tank’s inlet and hand‑tighten the nut. Use the wrench to give it an additional quarter turn—just enough to stop leaks without cracking the fitting.
9. Test for Leaks
Turn the water supply back on by rotating the shut‑off valve counter‑clockwise. Allow the tank to fill, then flush the toilet a few times. Check around the base of the toilet, the supply line connection, and the bolts for any signs of water. If you notice any drips, gently tighten the affected connection or reseat the wax ring if necessary.
10. Level and Finish
Place a level on the toilet bowl rim to ensure it sits evenly. If the toilet rocks, you can use shims (plastic or wood) placed under the base to stabilize it. Once level, apply a bead of caulk around the base for a finished look and added protection against moisture.
Common Pitfalls and How to Avoid Them
Even experienced DIYers can run into obstacles when installing a wax ring. Below are the most frequent mistakes and practical advice on how to sidestep them.
- Using the wrong size wax ring: Measure the distance from the flange to the floor. If the gap is larger than 1 inch, an extra‑large or reinforced ring is advisable.
- Not cleaning the flange thoroughly: Residual wax can prevent a proper seal, leading to leaks. Take the time to scrape and wipe the area clean.
- Over‑tightening the bolts: This can crack the porcelain or deform the wax ring. Tighten just enough to hold the toilet firmly in place.
- Skipping the level check: A tilted toilet can cause uneven pressure on the wax ring, eventually breaking the seal.
- Ignoring a damaged flange: A cracked or corroded flange will never hold a wax ring securely. Replace it before proceeding.
When to Consider a Wax‑Free Seal
If you find yourself repeatedly replacing wax rings, you might want to explore wax‑free alternatives such as rubber gaskets or silicone‑based seals. These options offer easier installation and are less messy, though they can be slightly more expensive. For a detailed comparison, see our Stop Bathroom Leaks Forever – The Ultimate Guide to Replacing the Wax Ring on a Toilet article.
Maintenance Tips to Prolong Your Wax Ring’s Life
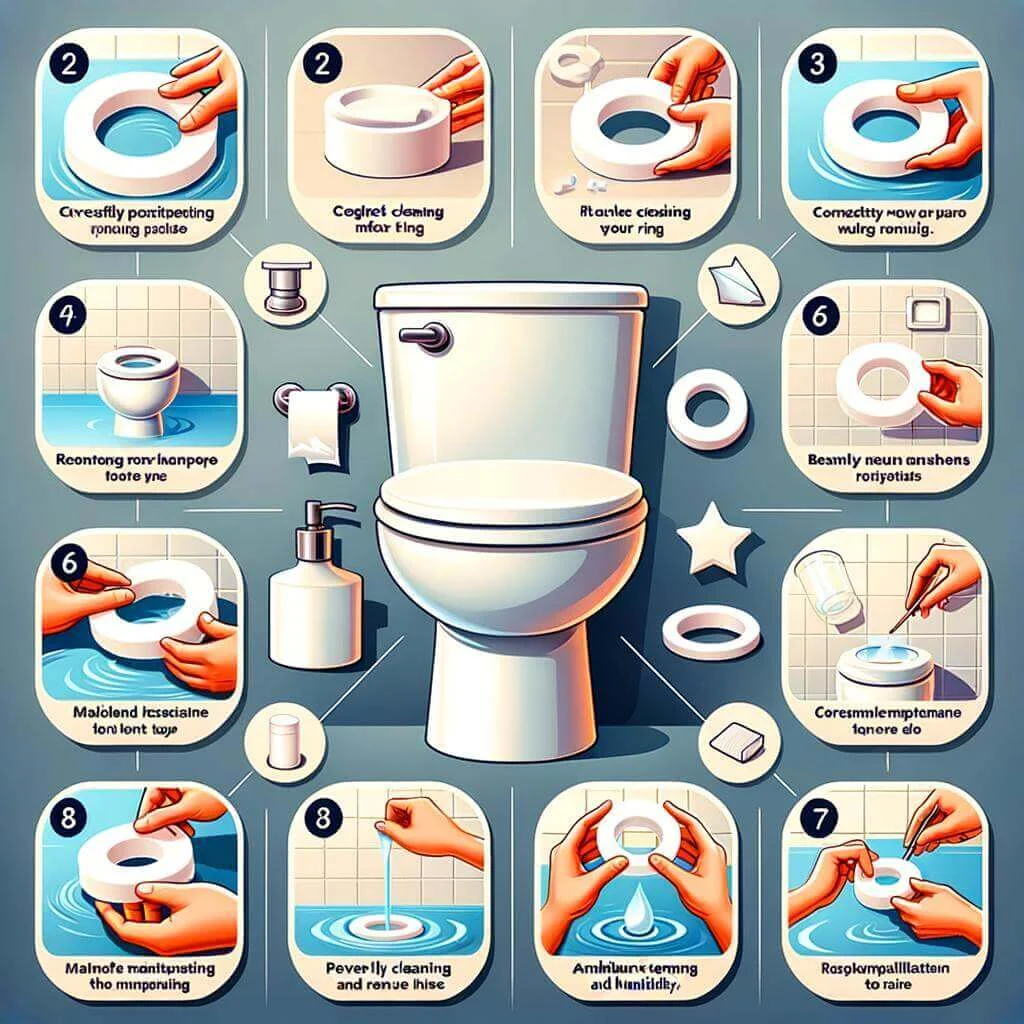
After you’ve successfully installed the wax ring, a few simple maintenance habits can keep it performing well for years.
Regular Inspection
Every six months, lift the toilet slightly (if you have a removable bolt cover) and check for any water pooling at the base. Early detection of a weakening seal can save you from major water damage.
Mindful Cleaning
Avoid harsh chemical cleaners that could degrade the wax over time. Stick to mild, pH‑balanced bathroom cleaners and use a soft cloth or sponge.
Watch for Shifting
Heavy objects placed on the toilet lid or sudden impacts can shift the toilet and stress the wax ring. Encourage family members to treat the toilet gently and avoid jumping or standing on the lid.
Replace When Needed
If you notice a persistent odor, a slow leak, or the toilet rocking despite shims, it’s time to replace the wax ring again. Proactive replacement is far less costly than dealing with water‑damaged subflooring.
By following these steps and staying attentive to the condition of your plumbing fixtures, you’ll maintain a dry, odor‑free bathroom that functions flawlessly. Installing a wax ring may seem intimidating at first, but with the right tools, clear instructions, and a little patience, you’ll master this essential DIY skill in no time.
