 Admin
Admin
Revamping an old chair can be as satisfying as buying a brand‑new piece, especially when you add a personal touch through custom sashes. A sash—essentially a decorative strip of fabric or material—wraps around the chair back, giving it depth, color, and a hint of tailored elegance. Whether you’re a seasoned woodworker or a weekend hobbyist, learning how to create DIY chair sashes opens a world of possibilities for updating dining chairs, office seats, or even garden benches.
Unlike full re‑upholstering projects that demand extensive tools and time, a sash modification focuses on a single, visible element. This means you can experiment with fabrics, patterns, and stitching techniques without committing to a complete overhaul. Moreover, a well‑chosen sash can unify a room’s palette, echoing the texture of a rug, the pattern of curtains, or the hue of a sofa, making the chair feel intentionally placed rather than an afterthought.
In the sections that follow, we’ll explore the fundamentals of selecting the right materials, measuring accurately, and installing a sash that lasts. We’ll also dive into creative variations—like layered sashes, mixed‑media accents, and even functional additions such as hidden storage pockets. By the end of this guide, you’ll feel confident to transform any chair into a statement piece that reflects your style and craftsmanship.
Diy Chair Sashes: Essential Materials and Tools

Before you cut a single stitch, gather a concise toolbox. Having the right supplies on hand prevents interruptions and ensures a professional finish.
- Fabric selection: Choose upholstery‑grade cotton, linen, or blended fabrics. Natural fibers breathe and hold shape well; synthetic blends add durability.
- Measuring tape and ruler: Precision is key when determining sash length and width.
- Sewing machine (or heavy‑duty hand needle): A machine with a walking foot handles thicker layers smoothly.
- Scissors or rotary cutter: Sharp blades give clean edges.
- Spray adhesive or fabric glue: Useful for temporary placement before stitching.
- Wood glue and clamps: If you plan to attach a wooden trim under the fabric.
- Finishing nails or small brad nails: For a secure, invisible hold on the back rail.
When selecting fabric, consider the chair’s existing color scheme. A neutral base (beige, gray, or ivory) works well with bold, patterned sashes, while a darker chair can be softened with lighter tones. For outdoor or high‑traffic areas, look for UV‑resistant and stain‑proof finishes.
Step‑by‑Step Guide to Installing Diy Chair Sashes
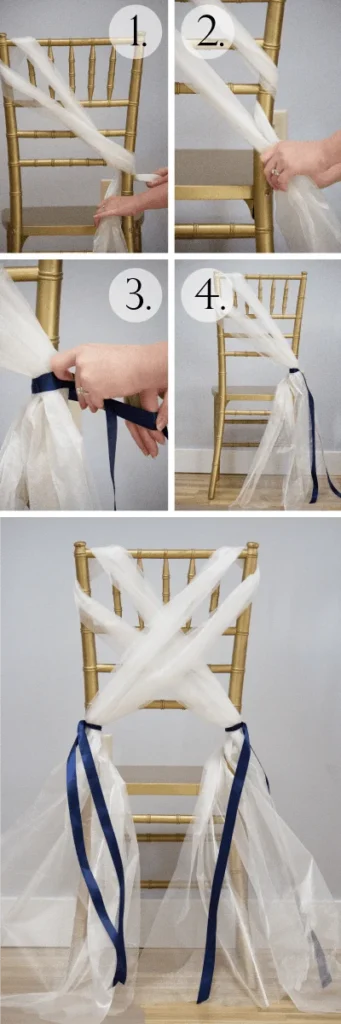
With materials ready, follow this systematic approach to achieve a seamless result.
1. Measure the Chair Back Accurately
Place the chair on a stable surface. Using a measuring tape, record the total vertical length from the top edge of the backrest to the point where you want the sash to end. Typical sashes cover the top third to half of the back, but this varies with design preference.
2. Determine the Desired Width
Standard widths range from 2 to 4 inches. A narrower sash emphasizes subtle elegance; a wider one creates a bold focal point. Add ½ inch on each side for seam allowances.
3. Cut the Fabric and Prepare the Edge
Lay the fabric on a clean surface, mark the dimensions, and cut precisely. To prevent fraying, finish the raw edges with a zigzag stitch or a serger. If you prefer a clean, crisp edge, fold the fabric over ¼ inch, press, and stitch a double line.
4. Attach the Sash to the Chair Back
There are two main methods:
- Sew‑on method: Pin the sash to the back rail, ensuring even spacing. Use a straight stitch, backstitch at the start and finish, and press the seam flat.
- Glue‑and‑nail method: Apply a thin layer of spray adhesive, press the sash in place, then secure with finishing nails hidden under the fabric. This is faster for chairs with delicate frames.
For a professional touch, consider a hidden pocket beneath the sash. Cut a small slit in the fabric, insert a slim storage pouch, and stitch around it. This adds utility without compromising aesthetics.
5. Finishing Touches
Trim any excess fabric, re‑press the sash, and inspect the stitching for consistency. If the chair will be used heavily, reinforce the top and bottom seams with a double stitch. Finally, step back and assess the visual balance—adjust tension or trim as needed.
Creative Variations for Diy Chair Sashes
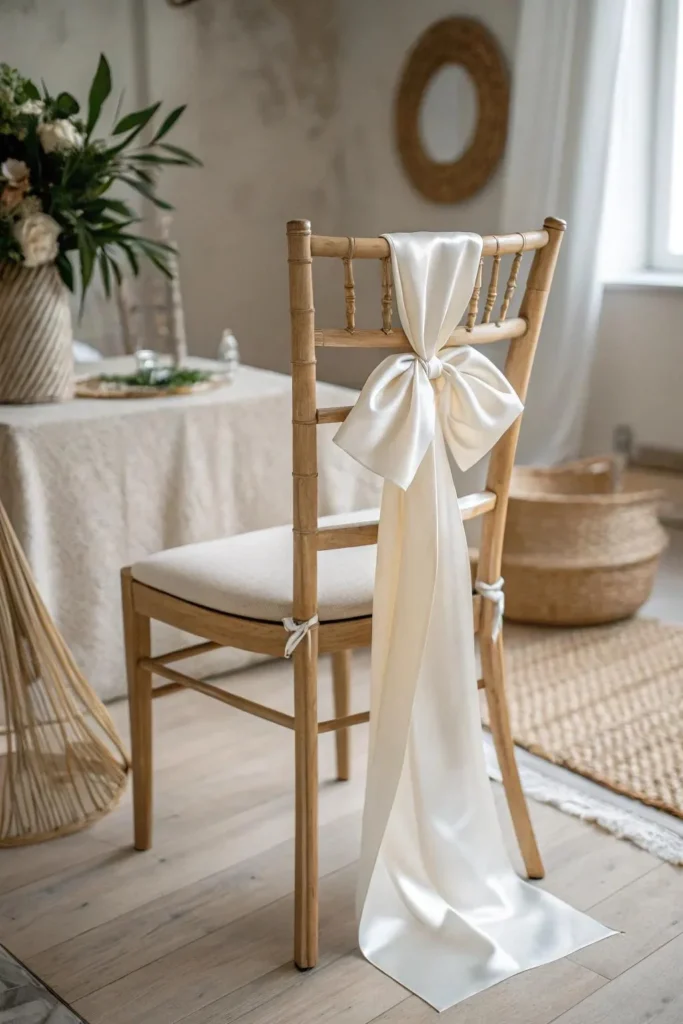
Once you’ve mastered the basic installation, experiment with design twists that reflect current trends and personal flair.
Layered Sashes
Combine two fabrics of contrasting textures—such as a smooth linen base with a woven jute overlay. Attach the base sash first, then stitch the secondary layer on top, leaving a narrow gap for a subtle shadow effect.
Mixed‑Media Accents
Incorporate thin wooden slats, metal strips, or leather patches into the sash. These elements can be glued or nailed under the fabric, offering a tactile contrast that works well in industrial‑style interiors.
Pattern Mixing
Play with geometric prints against florals. Use a solid‑colored backing to keep the design from feeling chaotic. This technique echoes the visual dynamics found in Diy Chair Sash Ideas – Creative Ways to Transform Your Seating, where designers blend unexpected motifs for a curated look.
Functional Add‑Ons
For dining chairs, add a small pocket to hold napkins or a place card. For office chairs, attach a narrow loop for a cable organizer. These subtle features increase utility without compromising style.
Maintaining Your Diy Chair Sashes for Longevity
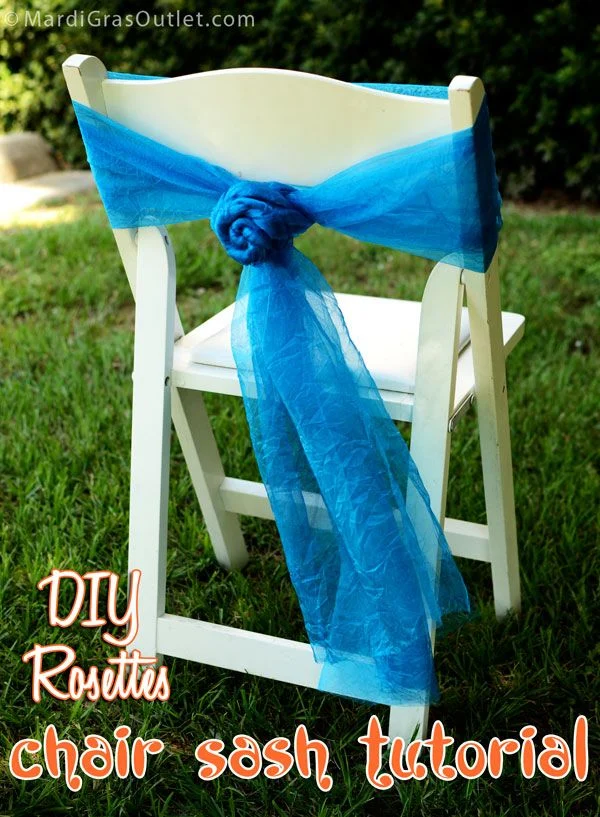
Even the most durable fabric can wear over time if not cared for properly. Follow these maintenance tips to keep your sashes looking fresh.
- Regular dusting: Use a soft brush or lint roller to remove surface dust.
- Spot cleaning: Test any cleaning solution on an inconspicuous area first. Mild soap and water usually suffice.
- Avoid direct sunlight: Prolonged exposure can fade colors, especially on lighter fabrics.
- Rotate chairs: If the chair is part of a set, rotate their positions periodically to even out wear.
- Re‑stitch if needed: Small loose threads can be repaired quickly with a hand needle, preventing larger frays later.
For chairs used in moist environments, such as a bathroom or near a pool, consider a water‑resistant coating. This precaution mirrors the approach recommended in the Disabled Shower Chair – Essential Guide for Safe and Comfortable Bathing, where material durability is paramount.
Integrating Diy Chair Sashes into Your Interior Design Scheme
When planning a room redesign, think of the sash as a bridge between the chair and surrounding décor. Here are three practical strategies:
Color Coordination
Match the sash hue with a dominant color in the room—such as the wall accent or a rug. This creates visual continuity. For a pop‑of‑color effect, choose a complementary shade that stands out against the chair’s base tone.
Texture Harmony
If your living room features a plush velvet sofa, select a sash with a subtle woven texture to echo the softness without competing. Conversely, a sleek metal coffee table pairs nicely with a sash featuring a crisp linen finish.
Theme Alignment
For a coastal vibe, use nautical stripes or sea‑foam green sashes. In a mid‑century modern setting, opt for tapered wooden slats beneath a muted mustard fabric. The sash can reinforce the overarching theme, making each chair feel intentional.
When coordinating, reference related design resources like Design Sofa: Mastering Style, Comfort, and Function for broader ideas on how seating elements interact within a space.
Finally, remember that a well‑executed DIY chair sash is not merely decorative; it’s an expression of craftsmanship and thoughtful design. By selecting appropriate materials, following a methodical installation process, and caring for the finished product, you can enjoy a refreshed piece of furniture that enhances both function and aesthetics for years to come.