 Admin
Admin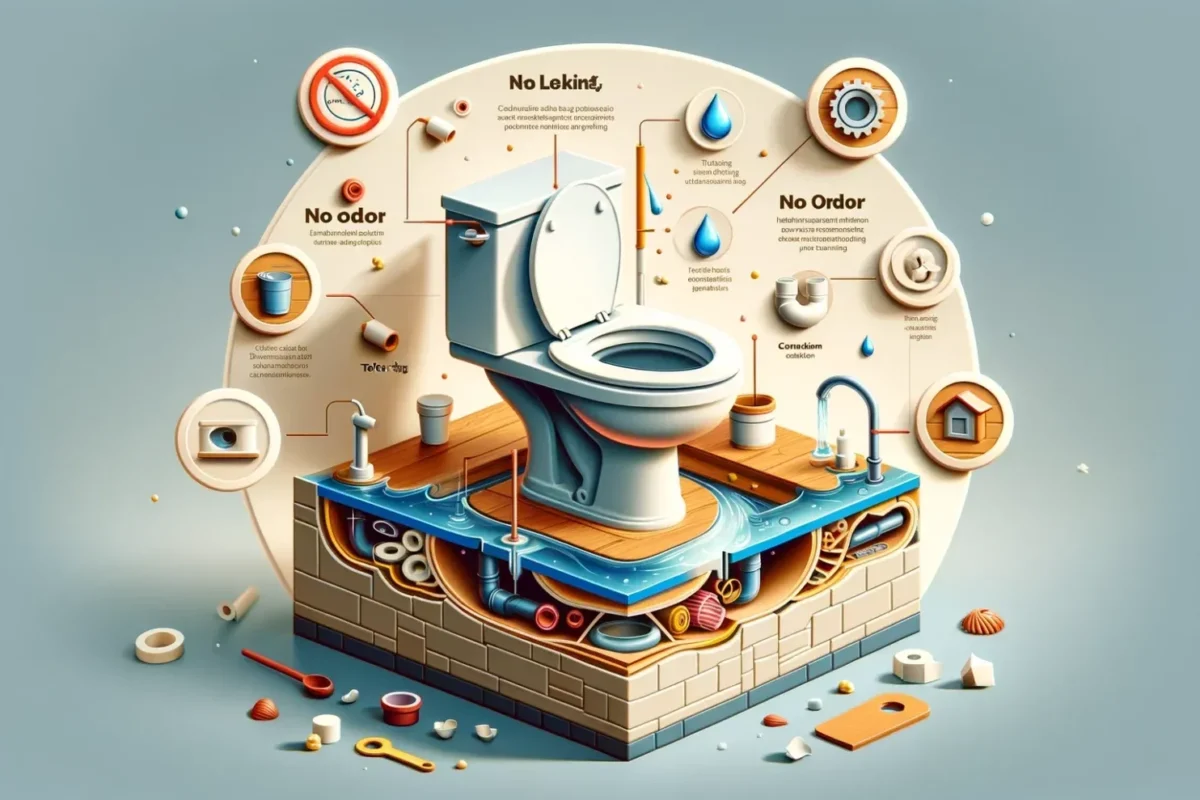
Installing a wax ring is one of the most critical steps when you’re working on a toilet replacement or repair. The wax ring creates a watertight seal between the toilet base and the floor flange, and a faulty ring is the leading cause of leaks that can damage subflooring and create costly repairs. In this guide, you’ll discover everything you need to know—from selecting the right wax ring to mastering the installation process—so you can tackle the job with confidence and avoid the dreaded water seepage.
Whether you’re a seasoned DIY enthusiast or a first‑time homeowner, the principles behind a successful wax ring installation remain the same: preparation, precision, and patience. By following the detailed steps outlined below, you’ll not only protect your bathroom from water damage but also gain the satisfaction of completing a plumbing task that many dread. Let’s dive in and explore the essentials before you grab your tools.
Before you start, consider reviewing The Ultimate Guide to Installing a Wax Ring – Stop Leaks and Save Money Today! for a quick overview of common pitfalls and best‑practice tips that will streamline your workflow.
Understanding the Wax Ring and Its Role
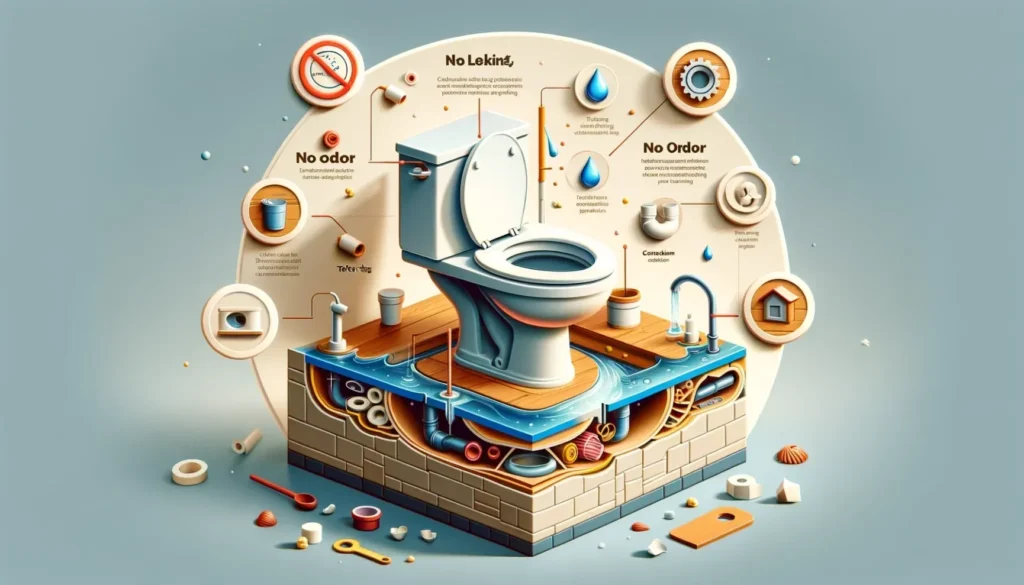
The wax ring is a simple yet ingenious component made from pliable wax, sometimes reinforced with a rubber or silicone sleeve. Its primary function is to fill the gap between the toilet’s horn (the bottom of the bowl) and the closet flange that sits on the drain pipe. When compressed, the wax conforms to any imperfections, creating an airtight and watertight seal that prevents both water and sewer gases from escaping.
Types of Wax Rings
- Standard Wax Ring: The classic, inexpensive option suitable for most residential installations.
- Wax Ring with Flange: Includes a built‑in plastic or rubber flange that reinforces the seal, ideal for uneven or slightly damaged flanges.
- Rubber or Silicone Seals: Non‑wax alternatives that offer flexibility and reusability, though they can be pricier.
When to Choose a Reinforced Ring
If your floor is uneven, the flange is slightly corroded, or you’ve experienced recurring leaks, a reinforced wax ring with a built‑in flange provides extra security. These rings are especially useful in older homes where the flange may have shifted over time.
Tools and Materials You’ll Need

Gathering the right tools before you begin will keep the job moving smoothly. Here’s a checklist to ensure you have everything on hand:
Essential Tools
- Adjustable wrench or socket set (for bolts)
- Flathead screwdriver (for removing the old toilet bolts)
- Putty knife (to scrape old wax)
- Rubber gloves (to keep your hands clean)
- Bucket or towels (to catch any residual water)
- Level (to verify proper toilet alignment)
Materials
- New wax ring (standard or reinforced based on your assessment)
- New closet bolts and washers (optional but recommended for a fresh start)
- Plumber’s putty (for sealing the base, if desired)
- Cleaning rags
Step‑by‑Step Installation Process

Now that you’re equipped, let’s walk through the installation from start to finish. Each step is broken down to minimize mistakes and maximize the seal’s longevity.
1. Shut Off the Water Supply
Locate the shut‑off valve behind the toilet and turn it clockwise until it stops. Flush the toilet to drain as much water as possible from the tank and bowl. Use a sponge or a small bucket to soak up any remaining water in the tank.
2. Disconnect the Water Line and Remove the Old Toilet
Using an adjustable wrench, disconnect the water supply line from the bottom of the tank. Place a bucket under the tank bolts and unscrew the caps covering the closet bolts. Gently rock the toilet back and forth to break the old wax seal, then lift the toilet and set it aside on a protective sheet.
3. Clean the Flange and Inspect for Damage
Scrape away the remnants of the old wax ring with a putty knife. Check the closet flange for cracks, corrosion, or misalignment. If the flange is damaged, you may need a repair kit or a new flange before proceeding. This step is crucial because a compromised flange will undermine even the best wax ring.
4. Install New Closet Bolts (If Needed)
Insert new bolts into the flange’s slots, ensuring they sit flush and are evenly spaced (usually 4‑6 inches apart). Secure them with washers and nuts, but do not tighten fully yet; you’ll need some wiggle room when placing the toilet.
5. Position the Wax Ring
Place the wax ring directly onto the flange, centering it over the drain opening. For reinforced rings with a flange, ensure the plastic or rubber flange sits snugly against the floor. Some installers prefer to set the wax ring on the toilet’s horn instead—either method works, but be consistent.
6. Set the Toilet
With the wax ring in place, carefully lower the toilet bowl onto the flange, aligning the bolt holes with the closet bolts. Press down firmly and evenly to compress the wax, creating the seal. Rock the toilet gently to ensure the wax spreads uniformly; you should feel resistance as the seal tightens.
7. Secure the Toilet
Once the toilet is level (use a level on the tank rim), tighten the nuts on the closet bolts gradually—alternating sides to avoid cracking the porcelain. Do not overtighten; a snug fit is sufficient.
8. Reconnect the Water Supply
Reattach the water supply line, turn the shut‑off valve counter‑clockwise to restore water flow, and let the tank fill. Check for any leaks around the base and at the supply connection. If you notice water seeping, gently tighten the connection or re‑seat the wax ring.
9. Test the Installation
Flush the toilet several times to confirm that the water drains properly and no water escapes from the base. Apply a small amount of plumber’s putty around the base if you prefer an extra cosmetic seal, but remember that the wax ring does the heavy lifting.
For a deeper dive into troubleshooting leaks after installation, see Stop Bathroom Disasters: How to Replace the Wax Ring Under Your Toilet Like a Pro.
Common Mistakes and How to Avoid Them

Even experienced DIYers can slip up during a wax ring replacement. Recognizing these pitfalls early can save you hours of rework.
Using the Wrong Wax Ring Size
Measure the distance between the toilet’s horn and the flange before purchasing. An ill‑fitting ring won’t seal properly, leading to slow leaks that are hard to detect.
Not Removing All Old Wax
Residue can prevent the new ring from making full contact with the flange. Take the time to clean the area thoroughly with a putty knife and a rag.
Over‑Tightening the Bolts
Excessive pressure can crack the porcelain or deform the wax ring. Tighten bolts just enough to keep the toilet stable.
Installing on a Damaged Flange
A cracked or warped flange undermines the seal. If the flange is compromised, replace it with a new PVC or ABS flange before proceeding.
Skipping the Level Check
An uneven toilet can cause the wax to compress unevenly, creating gaps. Always use a level after placing the toilet.
If you’re still unsure about any step, the article The Secret to Leak‑Free Bathrooms: Master the Wax Ring Replacement Today offers additional troubleshooting tips and visual guides.
Maintenance Tips for Longevity

Once your wax ring is installed, a little routine maintenance can extend its life and keep your bathroom leak‑free.
Periodic Inspection
Every six months, check the base of the toilet for any moisture or discoloration. Early detection of a failing seal can prevent water damage.
Avoid Heavy Loads
Never place heavy objects on the toilet tank or bowl. Excess weight can shift the toilet and stress the wax seal.
Gentle Cleaning
Use mild cleaners around the base; abrasive chemicals can degrade the wax over time. A simple mixture of water and mild soap works well.
Prompt Leak Response
If you notice a sudden leak, turn off the water supply immediately and assess the seal. In many cases, the issue can be resolved by tightening bolts or re‑seating the wax ring without a full replacement.
For those interested in broader bathroom upgrades, consider exploring how a new water heating system can complement your renovation. The article 110 Volt Tankless Water Heater Secrets Unveiled – The Ultimate Guide for Modern Homes provides insights on efficient water heating solutions.
By following these guidelines, you’ll ensure that your wax ring remains effective for years, keeping your bathroom dry, sanitary, and free from costly repairs.
With the right preparation, the proper tools, and a clear step‑by‑step plan, installing a wax ring is a manageable DIY project that can save you both time and money. Remember to take your time, double‑check each step, and don’t hesitate to consult reputable resources if you run into trouble. A well‑installed wax ring is the silent guardian of your bathroom’s integrity—treat it with the care it deserves, and it will return the favor by keeping your space dry and comfortable for years to come.