 Admin
Admin
Replacing the wax ring under a toilet is one of those DIY tasks that often feels daunting until you realize it’s essentially a straightforward swap of a small, inexpensive component. The wax ring’s primary job is to create a watertight seal between the toilet base and the floor flange, keeping sewage and water from seeping into your home. When that seal fails, you’ll notice wobbling, unpleasant odors, or, in worst‑case scenarios, a flood of water onto your bathroom floor. The good news? With a few tools, a bit of patience, and the right guidance, you can replace the wax ring yourself, saving both time and money.
In this comprehensive guide, we’ll walk through every phase of the replacement process, from diagnosing the problem to re‑installing the toilet securely. You’ll learn which tools are essential, common pitfalls to avoid, and maintenance tips that keep your seal leak‑free for years. Whether you’re a seasoned handyperson or a first‑time homeowner, the instructions are broken down into clear, actionable steps that empower you to tackle the job with confidence.
Before diving into the nuts and bolts, remember that safety should always come first. Turn off the water supply, protect your flooring, and work methodically. By following this guide, you’ll master the wax ring replacement and eliminate a major source of bathroom headaches.
Understanding the Role of the Wax Ring
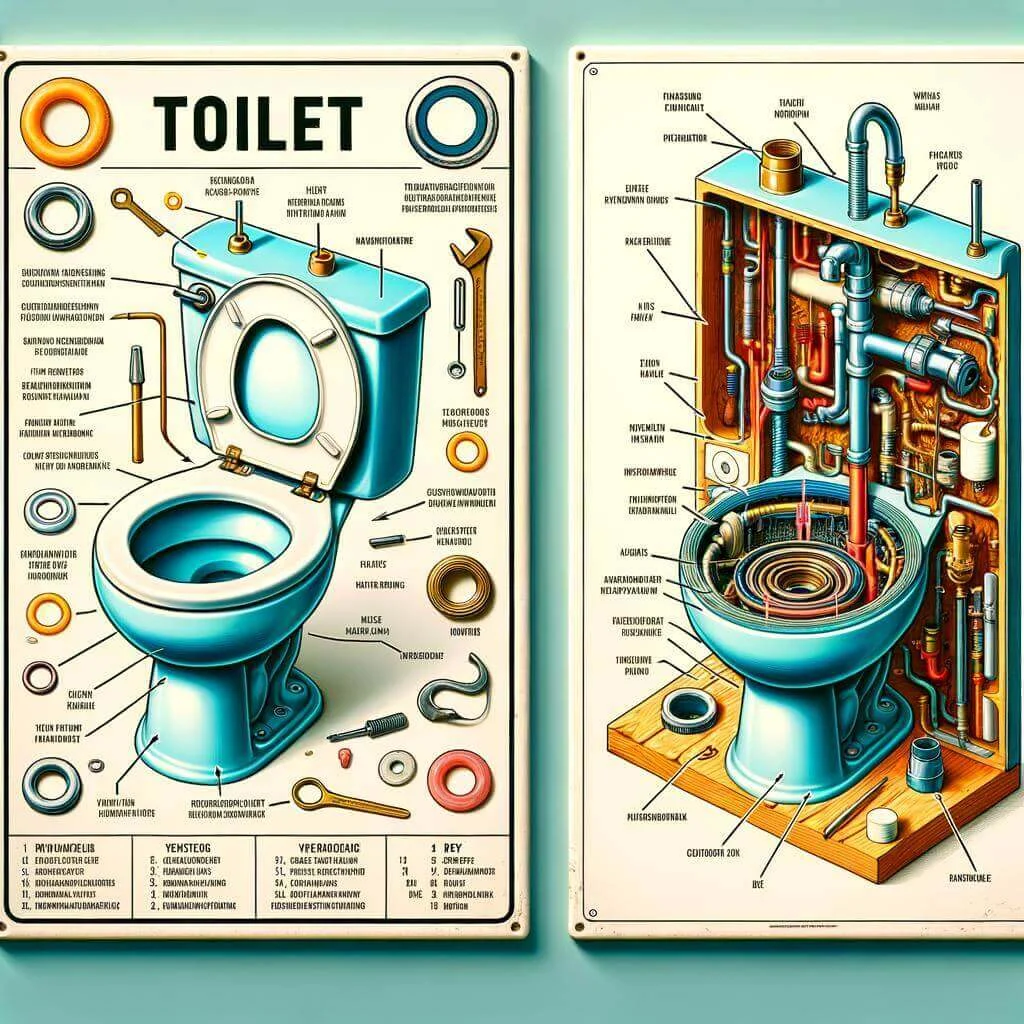
The wax ring is a deceptively simple component, yet its function is critical to the integrity of your bathroom plumbing. It sits snugly between the bottom of the toilet bowl and the closet flange (the pipe fitting attached to the floor). When compressed, the wax creates an airtight, watertight seal that prevents any waste or water from escaping.
Over time, the wax can deteriorate due to constant moisture exposure, temperature fluctuations, and the weight of the toilet itself. A compromised ring often manifests as:
- Persistent foul odors around the base of the toilet.
- Visible water pooling after each flush.
- Toilet rocking or shifting when pressure is applied.
- Visible cracks or gaps in the wax after removal.
If any of these symptoms appear, it’s a clear indicator that the wax ring needs replacement. For a deeper dive into why a fresh wax ring is essential for leak‑free bathrooms, check out The Secret to Leak‑Free Bathrooms: Master the Wax Ring Replacement Today.
Essential Tools and Materials
Gathering the right tools before you start will streamline the process and reduce frustration. Here’s a checklist of what you’ll need:
- Adjustable wrench or pipe wrench – to disconnect the water supply line.
- Flathead and Phillips screwdrivers – for removing the tank bolts and any decorative caps.
- Putty knife – to scrape away the old wax without damaging the flange.
- Rubber gloves – for hygiene and to protect your hands.
- Bucket or towels – to catch residual water from the tank.
- New wax ring – choose a standard 2‑inch ring or a reinforced rubber‑wax combo for added durability.
- Optional: Wax ring with a funnel – simplifies alignment during re‑installation.
- Plumber’s tape (Teflon tape) – for resealing the water supply connection.
Step‑by‑Step Replacement Process

1. Shut Off the Water Supply
Locate the shut‑off valve on the wall behind the toilet and turn it clockwise until it stops. Open the toilet flush handle to release any remaining water from the tank and bowl. Use a bucket to soak up any lingering liquid.
2. Disconnect the Water Supply Line
Using an adjustable wrench, loosen the nut connecting the supply line to the tank inlet. Gently pull the line away, allowing any water in the line to drain into your bucket. If the line is corroded or stuck, apply a little penetrating oil and give it a moment to work.
3. Remove the Toilet Tank (If Applicable)
Many modern toilets have a separate tank bolted to the bowl. Remove the bolts using a screwdriver or wrench, then lift the tank off and set it on a protected surface. This step isn’t mandatory for all models, but it gives you better access to the bowl bolts and reduces the weight you’ll be handling.
4. Unbolt the Toilet Bowl
Locate the two (or sometimes three) bolts at the base of the toilet, usually hidden under decorative caps. Pry off these caps with a flathead screwdriver, then use a wrench to loosen the nuts. Gently rock the bowl back and forth to break the seal, then lift the toilet straight up. It’s helpful to have a second person assist, as the toilet can weigh 70‑100 lbs.
5. Inspect and Clean the Flange
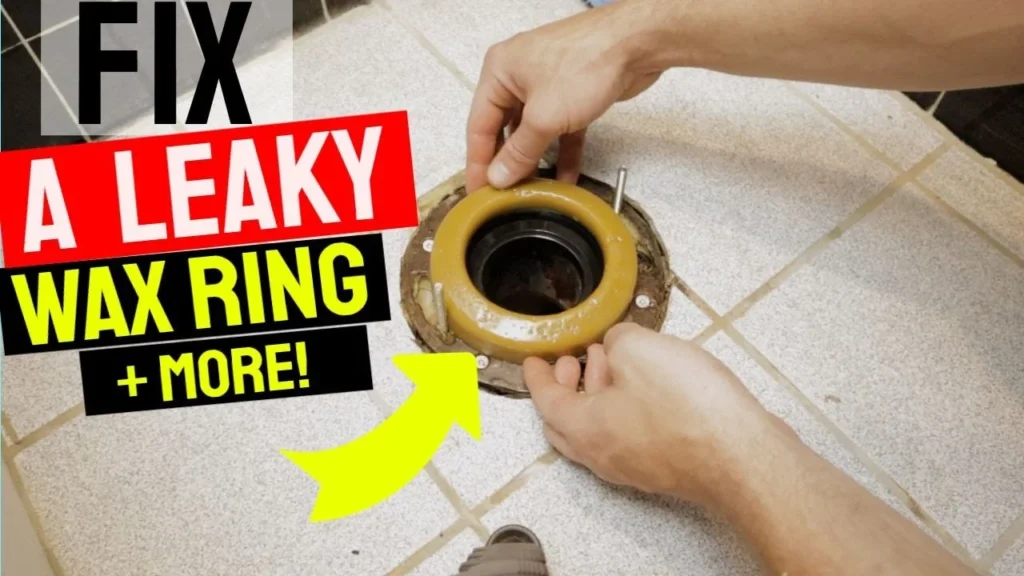
With the toilet removed, you’ll see the closet flange attached to the floor. Use a putty knife to scrape away the old wax completely. Check the flange for cracks or corrosion; a damaged flange may need replacement before installing a new wax ring. Ensure the flange sits flush with the floor—any gap can compromise the new seal.
6. Install the New Wax Ring
Place the fresh wax ring directly onto the flange, centering it over the waste outlet. If you opted for a wax ring with a built‑in funnel, align the funnel with the pipe to guide the toilet’s weight into the correct position. Press lightly to seat the ring; it should stay in place without sliding.
7. Re‑Position the Toilet
Carefully lower the toilet bowl onto the wax ring, aligning the bolt holes with the flange bolts. Apply even pressure, letting the weight of the toilet compress the wax and create a solid seal. Avoid rocking or shifting the toilet during this stage, as it can displace the wax.
8. Secure the Toilet
Place rubber washers and metal nuts onto the flange bolts, then tighten them gradually. Alternate sides to keep the pressure even, but avoid overtightening—excess force can crack the porcelain. Re‑attach any decorative caps you removed earlier.
9. Reconnect the Water Supply
Position the supply line back onto the tank inlet, wrap Teflon tape around the threads, and tighten the nut securely. Turn the shut‑off valve counter‑clockwise to restore water flow. Allow the tank to fill, then flush several times while watching for leaks around the base and supply connection.
10. Test for Stability and Leaks
Give the toilet a gentle wiggle to confirm it’s firmly anchored. Inspect the floor around the base for any moisture. If you notice a leak, tighten the supply line nut a bit more or check that the wax ring is seated properly. Once you’re satisfied, replace any floor trim or caulk if needed.
Common Mistakes and How to Avoid Them

Even seasoned DIYers can stumble during a wax ring replacement. Below are typical errors and proactive tips to keep your project on track:
- Using the wrong size ring: Measure the flange opening before purchasing. A ring that’s too small won’t cover the waste pipe, while an oversized one can fold and leak.
- Skipping the flange inspection: A cracked or corroded flange undermines the entire seal. Replace it promptly to avoid future leaks.
- Over‑tightening the bolts: Excess pressure can crack the porcelain base. Tighten until snug, then give a final quarter‑turn if needed.
- Not aligning the toilet correctly: Misalignment pushes the wax ring aside, creating gaps. Use a wax ring with a funnel or a rubber gasket for easier alignment.
- Leaving old wax residue: Residual wax prevents proper adhesion. Scrape clean and wipe with a damp cloth before installing the new ring.
Maintenance Tips to Prolong Your Wax Ring’s Life
Once you’ve installed a fresh wax ring, a few routine habits can extend its performance:
- Check for wobble periodically: A slight shift can indicate a weakening seal. Address it early before water damage occurs.
- Avoid heavy objects on the tank: Placing decorative items or excessive weight can stress the bolts and the wax seal.
- Seal the base with silicone caulk: A thin bead of waterproof silicone around the toilet’s perimeter adds an extra barrier against moisture while allowing for future removal.
- Inspect the water supply line: Replace old, rusted lines annually to prevent leaks that could saturate the wax ring.
- Schedule a yearly visual check: Even if everything seems fine, a quick visual inspection can catch early signs of wear.
For a more detailed walkthrough, including pictures and troubleshooting tips, the Ultimate DIY Guide to Replacing Wax Ring on Toilet – Stop Leaks Forever! provides an excellent visual companion to this text‑based guide.
By mastering the wax ring replacement, you not only protect your bathroom from costly water damage but also gain confidence in handling other minor plumbing tasks. The process is a perfect blend of practical skill and preventive maintenance—an essential addition to any homeowner’s toolkit.
So the next time you notice a faint odor or a wobble, you’ll know exactly what to do: shut the water, grab a new wax ring, and follow the steps outlined above. Your bathroom will thank you with a solid, leak‑free seal that lasts for years.
