 Admin
AdminThe Center Island Stove has rapidly become the centerpiece of modern kitchens, offering both aesthetic appeal and unparalleled functionality. Whether you’re a seasoned chef or a home cook who loves to entertain, integrating a stove directly into your kitchen island can revolutionize workflow, create a social hub, and boost property value. In this comprehensive guide we’ll explore the design considerations, installation challenges, performance metrics, and maintenance strategies that make the center island stove a must‑have for today’s kitchens.
From selecting the right fuel type—gas, electric, or induction—to coordinating countertop materials and ventilation, each decision influences how the appliance performs and how it integrates with your overall interior design. This article provides an authoritative roadmap, drawing on industry standards, professional installer insights, and real‑world case studies, so you can make informed choices and avoid common pitfalls.
By the end of this reading, you’ll have a clear vision of how to plan, install, and maintain a center island stove that not only meets your cooking needs but also elevates the heart of your home.
Why Choose a Center Island Stove?
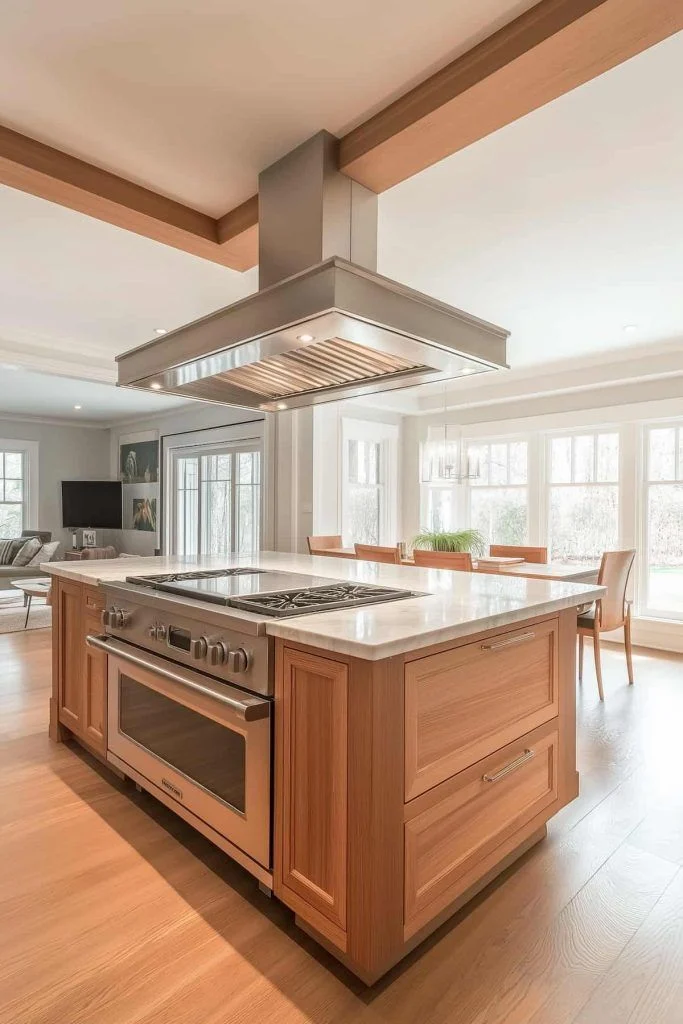
Placing the stove in the island rather than along a wall offers several strategic advantages:
- Enhanced Workflow: The classic kitchen work triangle—sink, refrigerator, and stove—becomes more fluid when the stove sits at the island, allowing you to move ingredients and cookware with minimal back‑and‑forth.
- Social Interaction: Guests can gather around the island while you cook, turning meal preparation into an engaging experience.
- Design Flexibility: The island becomes a focal point, allowing designers to experiment with premium materials, lighting, and integrated appliances.
- Resale Value: Modern buyers often prioritize open‑concept layouts; a well‑executed island stove can be a strong selling point.
Key Design Considerations
1. Fuel Type Selection
Choosing between gas, electric, or induction impacts everything from cooking performance to ventilation requirements.
- Gas: Provides instant heat control and is favored by professional chefs. Requires a proper gas line and a vent hood that can handle higher BTU output.
- Electric: Offers even heating and is easier to clean. However, electric coils or smooth‑top elements may not deliver the same rapid response as gas.
- Induction: Delivers the fastest heating, precise temperature control, and superior energy efficiency. It also keeps the cooktop surface cooler, reducing burn risk.
When deciding, consider your cooking style, local utility costs, and the availability of a qualified technician for gas installations.
2. Ventilation Solutions
A center island stove demands an efficient ventilation system to capture smoke, steam, and odors. Options include:
- Downdraft Ventilation: Integrated into the island, the vent pulls air downwards before it rises, preserving the open sight lines of a wall‑less kitchen.
- Ceiling‑Mounted Hoods: If the island is positioned under a suspended ceiling, a sleek, low‑profile hood can be installed directly above the stove.
- External Ducting: For maximum performance, route the vent to the exterior, ensuring compliance with local building codes.
Consult a certified HVAC professional to size the vent correctly; a general rule of thumb is 100 CFM per 1,000 BTU for gas burners.
3. Countertop Materials
The countertop surrounding your island stove must withstand high temperatures, moisture, and frequent cleaning. Popular choices include:
- Quartz: Non‑porous, heat‑resistant, and available in countless colors. It’s low‑maintenance and a favorite among designers.
- Granite: Naturally heat‑resistant and adds a luxurious feel, but requires periodic sealing.
- Solid Surface (e.g., Corian): Seamless integration with integrated sinks, though it may be less tolerant of direct flame.
- Stainless Steel: Ideal for a professional‑grade look, extremely durable, but can show fingerprints.
Regardless of the material, incorporate a heat‑deflector or metal trim around the burner area to protect the edges from scorching.
4. Safety Measures
Because the stove sits in the middle of a high‑traffic area, safety is paramount:
- Install a leak‑free faucet system nearby to avoid water spillage onto the cooktop.
- Use child‑proof knobs or electronic touch controls that can be locked when not in use.
- Ensure the island has a sturdy, fire‑rated base and that the vent hood includes a built‑in fire suppression system if possible.
Installation Process: From Blueprint to Reality

Step 1: Planning and Permits
Begin with a detailed floor plan that marks the exact location of the island, plumbing, gas lines, and electrical circuits. Most municipalities require a permit for gas or electrical modifications, so submit your plans to the local building department early.
Step 2: Structural Support
The island must be engineered to support the weight of the stove, vent system, and countertop. Typically, a reinforced frame using 2×6 or 2×8 lumber, plus cross‑bracing, is required. If you’re unsure, enlist a structural engineer.
Step 3: Routing Utilities
Running gas, electric, and water to the island can be complex. For gas, use stainless steel piping and a shut‑off valve located under the island. For electric, a dedicated 240‑V circuit with a GFCI breaker is standard for most stovetops. Water lines are necessary only if you plan an integrated sink or a built‑in pot‑filler.
Step 4: Installing the Ventilation
If you opt for a downdraft system, the vent must be cut into the island’s underside and connected to a duct that exits through the floor or a wall. Ensure the duct diameter matches the manufacturer’s specifications to maintain airflow efficiency.
Step 5: Placing the Stove and Finishing Touches
Once utilities are in place, the stove can be lowered onto the island platform, securing it per the manufacturer’s instructions. Apply a heat‑resistant silicone seal around the perimeter to prevent debris infiltration. Finally, install countertop overlays, backsplashes, and lighting.
Performance Optimization
Temperature Control and Calibration
Regardless of fuel type, precise temperature control is essential for consistent cooking results. Many modern stoves feature digital sensors that adjust flame or power output automatically. For gas models, consider a smart thermostat that monitors BTU output and alerts you to irregularities.
Energy Efficiency
Induction and electric stoves often achieve higher energy efficiency ratings than gas because they transfer heat directly to the cookware. Look for Energy Star certified units and consider using pot‑filler faucets that reduce the need for long‑run hot water, thereby saving energy.
Cleaning and Maintenance
- Daily Cleaning: Wipe the surface after each use with a non‑abrasive cleaner to prevent grease buildup.
- Deep Cleaning: Remove burners or induction panels once a month and soak them in warm, soapy water. For downdraft vents, clean the filter and inspect the duct for obstructions.
- Professional Service: Schedule a professional inspection annually, especially for gas connections, to ensure leak‑free operation.
Design Inspirations: Real‑World Examples

Modern Minimalist
A sleek, white quartz island paired with a black induction cooktop and concealed downdraft creates an uncluttered aesthetic. Integrated LED strip lighting under the countertop adds ambience while providing functional task lighting.
Industrial Chic
Exposed brick walls, a stainless steel 6‑burner gas stove, and a reclaimed wood island top evoke a restaurant‑style vibe. Heavy‑duty pipe venting and pendant lighting complete the look.
Family‑Friendly
For households with children, a rounded island edge, a low‑profile electric stove, and a built‑in cutting board surface provide safety and convenience. Add a small breakfast bar on one side for casual meals.
Cost Considerations

Budgeting for a center island stove involves several variables:
- Appliance Price: Gas models range from $1,200 to $4,000; induction units can exceed $5,000 for premium brands.
- Installation: Professional labor, including structural framing, gas line work, and electrical upgrades, typically costs $2,000–$6,000.
- Ventilation: Downdraft systems are generally pricier ($1,500–$3,000) than traditional hoods.
- Finishes: Quartz countertops start around $80 per square foot, while custom granite can surpass $150 per square foot.
Overall, a complete center island stove project can fall anywhere between $7,000 and $20,000, depending on the level of customization and regional labor rates.
Future Trends: What’s Next for Center Island Stoves?
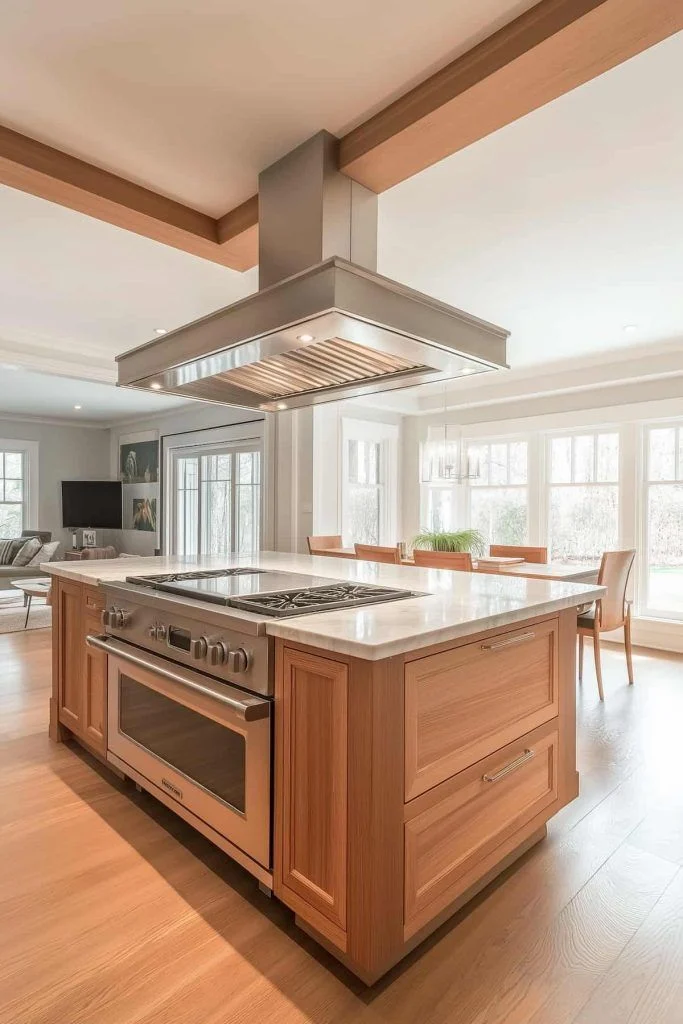
As smart home technology continues to integrate with kitchen appliances, expect to see more connected features:
- Voice‑Activated Controls: Adjust temperature or turn burners on/off using smart assistants like Alexa or Google Assistant.
- Integrated Cooking Sensors: Sensors that detect moisture levels and automatically adjust heat to prevent burning.
- Modular Design: Interchangeable cooking zones that can switch between gas, electric, or induction based on user preference.
Staying aware of these innovations can help you future‑proof your kitchen and keep it at the forefront of culinary technology.
In conclusion, the center island stove is more than just an appliance; it’s a design statement, a functional hub, and an investment that can elevate everyday cooking into an experience worth sharing. By carefully considering fuel type, ventilation, countertop material, and safety measures, you can create a kitchen that is both beautiful and highly efficient. Whether you opt for a minimalist induction surface or a bold gas powerhouse, the right planning and professional execution will ensure that your island stove serves you—and your guests—for years to come.
