 Admin
Admin
When you’re planning a modern kitchen, the phrase “kitchen island with stove” instantly conjures images of a sleek, central hub where cooking, dining, and socializing converge. Integrating a stove directly into an island not only maximizes countertop space but also creates a natural gathering point that elevates everyday meals into experiences. In this article we’ll explore a wealth of design strategies, practical tips, and inspirational ideas to help you build an island that works as hard as you do.
Choosing the right configuration is more than a matter of aesthetics; it’s about workflow efficiency, safety, and long‑term comfort. Whether you’re a seasoned home chef, a budding entertainer, or simply looking to upgrade your family kitchen, the concepts below will guide you from concept to completion. For a deeper dive into why this layout works, check out Why Choose an Island Kitchen With Stove?, which outlines the functional benefits in detail.
Below, each major idea is broken down into actionable sections, complete with material suggestions, budgeting pointers, and real‑world examples. By the end, you’ll have a clear vision of the perfect island‑stove combination for your home.
1. Layout Fundamentals: Positioning the Island Stove for Maximum Efficiency
Classic Work Triangle Reimagined
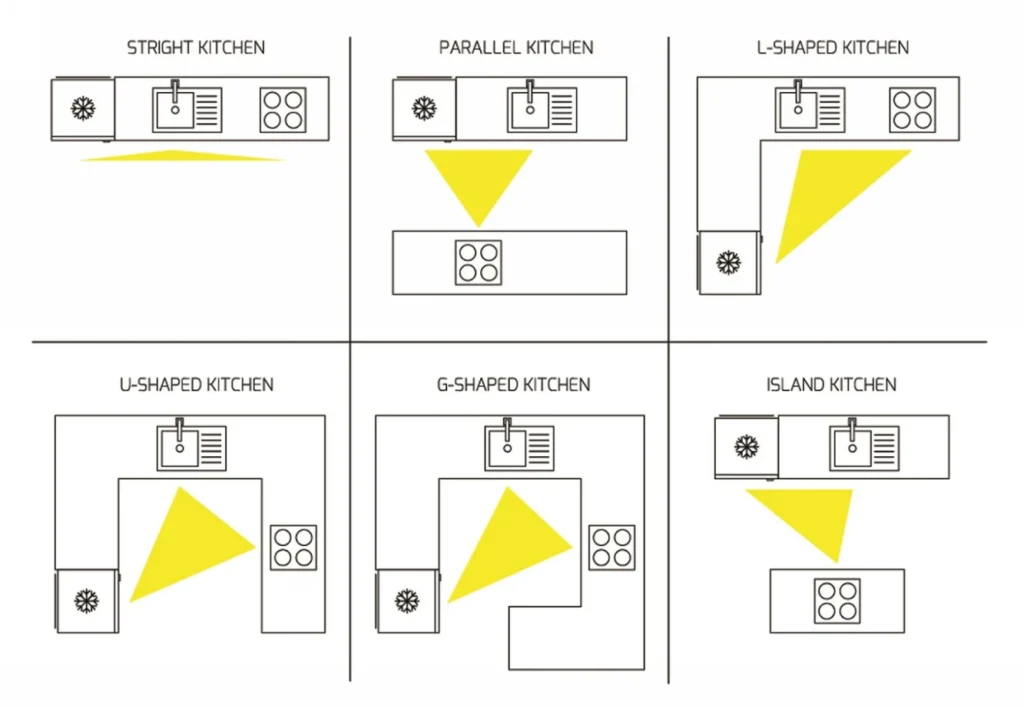
The traditional kitchen work triangle—sink, refrigerator, and stove—remains a reliable guideline, but an island stove reshapes the triangle into a more fluid “work zone.” Place the island so the stove sits within arm’s reach of the sink and fridge without crowding traffic pathways. A minimum of 42‑inches clearance on each side ensures smooth movement.
Open‑Plan vs. Defined Zones
- Open‑plan kitchens: Use the island as a visual anchor. A contrasting countertop or a bold backsplash can delineate cooking from dining.
- Defined zones: Install a partial wall or a raised edge on the island’s cooking side to contain splatters and heat.
Strategic Ventilation Placement
Effective ventilation is critical when the stove sits in the middle of the room. Consider a downdraft vent that pulls smoke downward, preserving sightlines, or a ceiling‑mounted hood that aligns with the island’s centerline. Proper vent sizing—measured in CFM (cubic feet per minute)—prevents lingering odors and ensures a comfortable cooking environment.
2. Selecting the Ideal Stove Type for Your Island
Gas vs. Electric vs. Induction
Each fuel source carries distinct advantages:
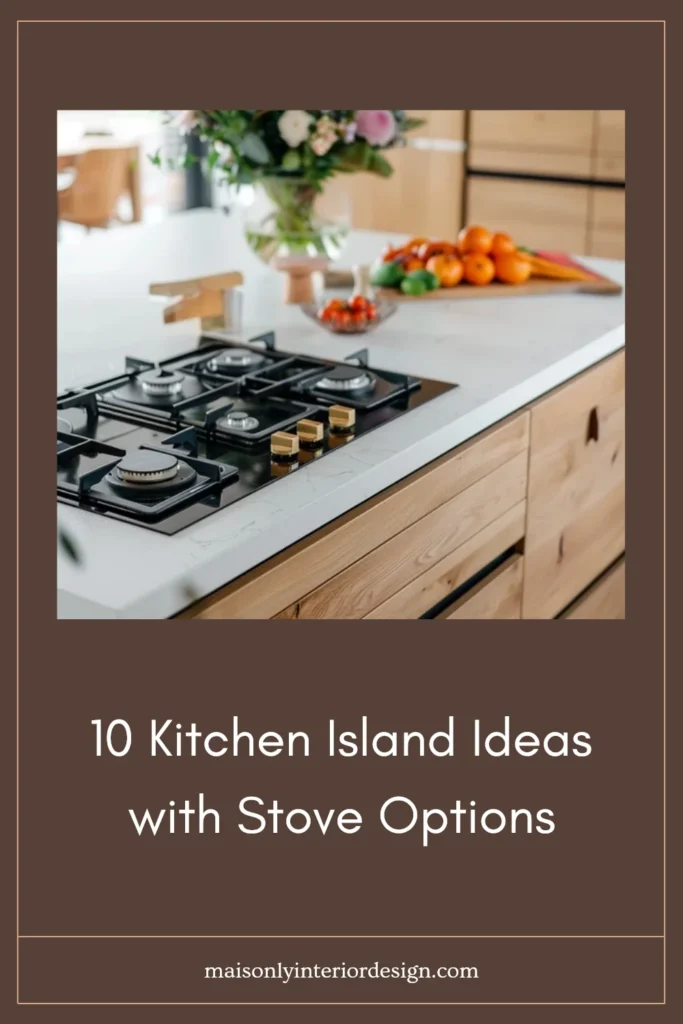
- Gas: Instant heat control, visually appealing flames, and compatibility with most cookware.
- Electric: Even heat distribution, smoother surface, and easier cleaning.
- Induction: Rapid heating, energy efficiency, and safety (the surface stays cool).
For a truly versatile island, many designers pair a gas range on one side with an induction cooktop on the other, offering flexibility for different cooking techniques.
Size and Configuration Options
Standard island stoves range from 30‑inch to 48‑inch widths. A 36‑inch model fits most mid‑size islands, while a 48‑inch double‑oven unit can serve larger households and create a built‑in “chef’s station.” When space permits, add a side burner or a griddle to expand your culinary repertoire.
Integrating Smart Appliances
Modern stoves now come equipped with Wi‑Fi connectivity, touch‑screen controls, and voice‑assistant compatibility. Pairing these features with a sleek island design brings a futuristic feel to everyday cooking. The Ultimate Island Stove Top Guide showcases the latest smart models and their integration tips.
3. Countertop Materials That Complement a Central Stove
Heat‑Resistant Surfaces
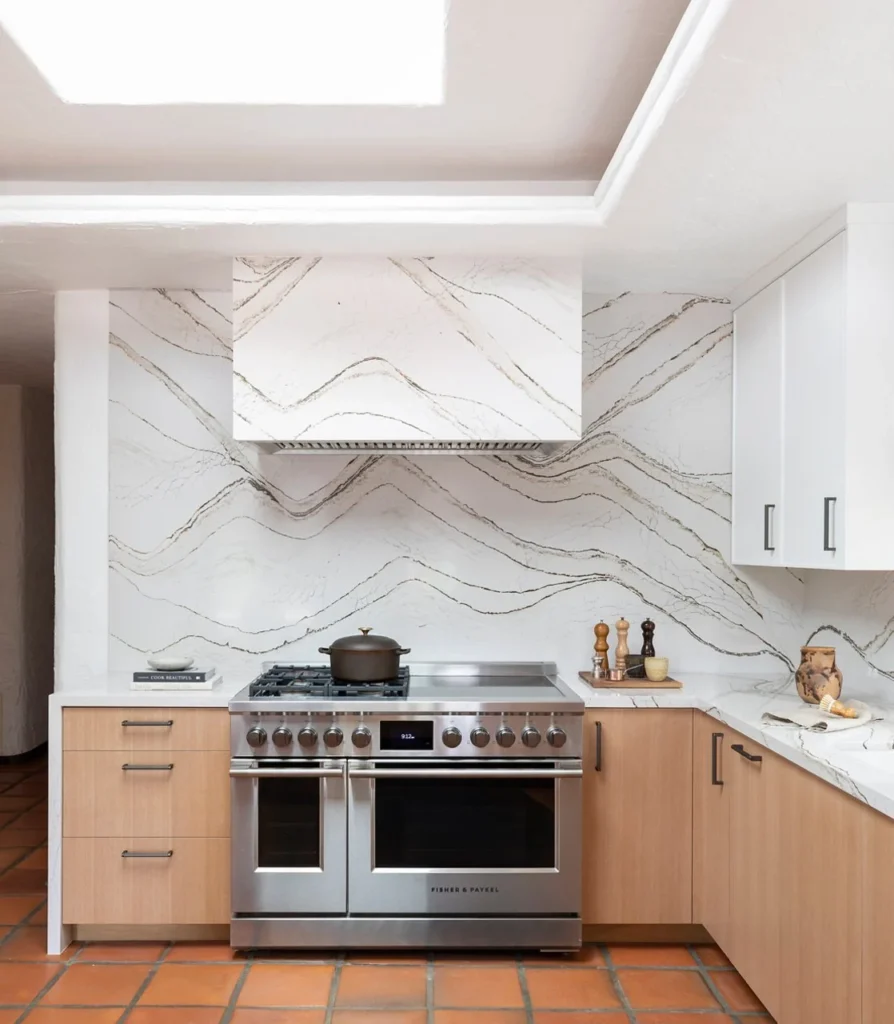
Because the stove generates high temperatures, choose countertops that can tolerate heat without discoloration or cracking. Popular options include:
- Quartz: Non‑porous, low maintenance, and available in a spectrum of colors.
- Granite: Naturally heat‑resistant, each slab offers a unique pattern.
- Solid surface (e.g., Corian): Seamless appearance and easy to repair.
- Butcher block: Warm aesthetic; use a heat‑protective pad for direct pot placement.
Incorporating a Cooking Bar
A recessed “cooking bar” can be fashioned from a different material—such as stainless steel or a contrasting quartz hue—to visually separate the cooking area from prep zones. This subtle cue helps prevent accidental spills onto delicate countertops.
Edge Profiles and Overhangs
Rounded edges reduce the chance of chipping and provide a comfortable armrest when you’re seated at the island. If you plan to add bar stools, aim for a 12‑inch overhang to accommodate legs without compromising structural integrity.
4. Storage Solutions That Keep the Island Clutter‑Free

Pull‑Out Drawers for Utensils and Spices
Deep pull‑out drawers installed beneath the stovetop allow quick access to pots, pans, and cooking tools. Include built‑in spice racks with tiered shelves for easy visibility.
Integrated Appliance Garage
Hide a toaster, coffee maker, or mixer behind a hinged panel that aligns with the countertop. This maintains a clean surface while keeping everyday gadgets within reach.
Open Shelving for Cookbooks and Display Items
Glass‑front cabinets or open shelves on the non‑cooking side create a mini library for cookbooks and a showcase for decorative plates. Keep the shelving height below eye level to maintain a streamlined look.
5. Lighting Strategies That Highlight the Island Stove
Task Lighting
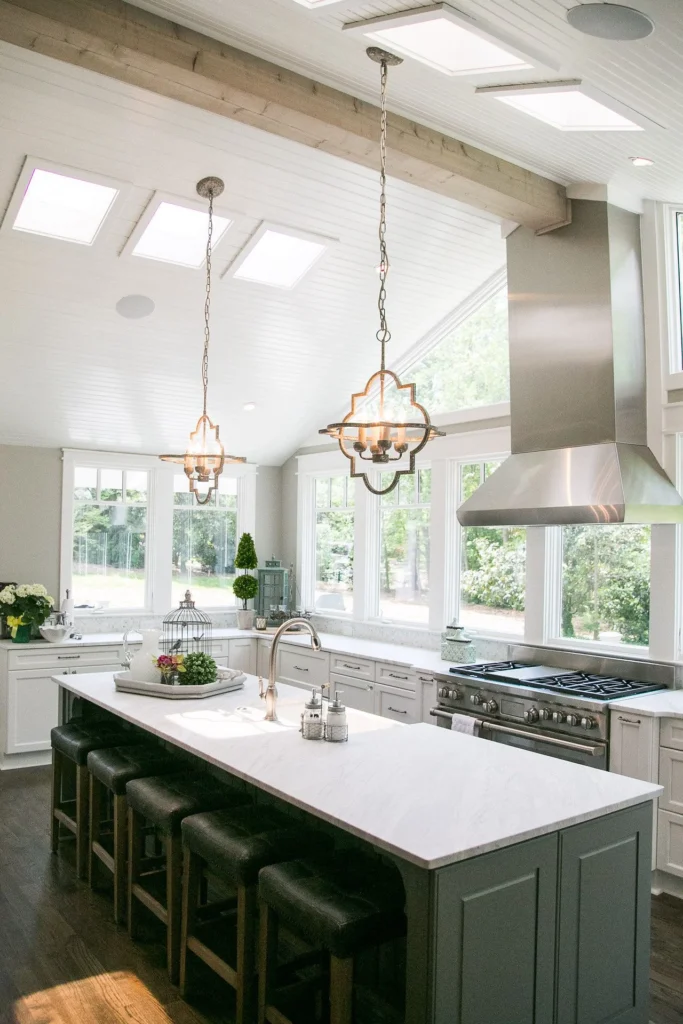
Install recessed LEDs directly above the stovetop to provide bright, shadow‑free illumination. Adjustable dimmers let you switch between high‑intensity cooking light and softer ambience for meals.
Pendant Lights for Style and Function
Clustered pendant fixtures not only add visual interest but also supply focused light for food prep at the island’s perimeter. Choose fixtures with a clear glass shade to maximize illumination, or go bold with colored glass for a statement piece.
Under‑Cabinet and Toe‑Kick Lighting
LED strips tucked beneath the island’s base cabinets create a subtle glow that outlines the island’s silhouette, enhancing safety during night‑time snacking.
6. Ergonomic Details That Make Cooking a Pleasure
Height Considerations
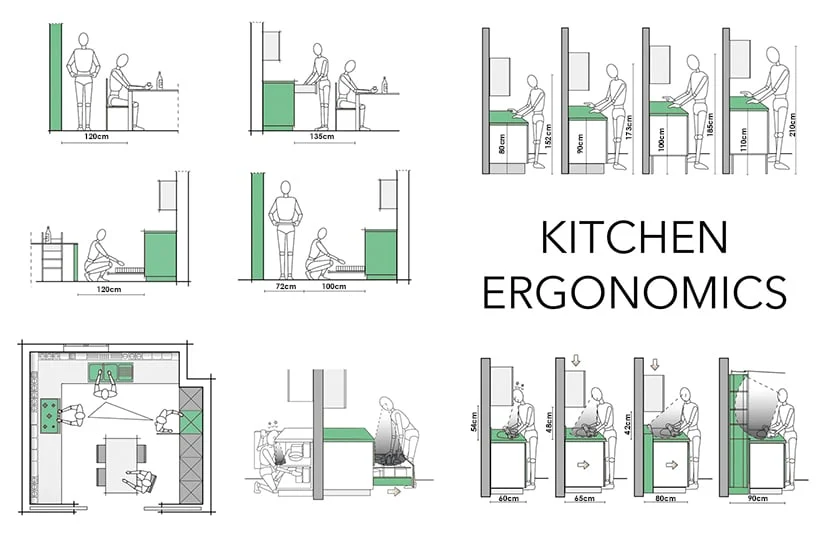
The standard island height is 36 inches, but for a stove‑centered island, a slightly higher work surface (38‑40 inches) can reduce strain when standing for long periods. If you plan to incorporate a bar‑seating area, keep the cooking section at the standard height and create a raised countertop on the opposite side.
Handle Placement and Knob Visibility
Position knobs and controls on the front edge of the island, away from the cooking line, to avoid accidental adjustments while stirring. Touch‑control panels eliminate protruding knobs entirely, offering a sleek profile.
Safety Zones
Mark a 24‑inch “heat zone” around the stove with a contrasting countertop material or a low‑profile metal strip. This visual cue reminds family members, especially children, to stay clear of hot surfaces.
7. Budgeting and Material Choices for Different Price Points

High‑End Luxury
Invest in a custom granite countertop, a 48‑inch professional‑grade gas range, and a premium downdraft vent system. Expect costs to range from $20,000 to $35,000, inclusive of labor.
Mid‑Range Smart Solution
Opt for a quartz countertop, a 36‑inch induction cooktop, and a sleek stainless‑steel hood. This combination typically lands between $12,000 and $18,000.
Budget‑Friendly DIY
Use a prefabricated laminate countertop with a built‑in electric coil stove, add a simple under‑cabinet vent, and finish with affordable pendant lighting. A well‑executed DIY can keep the total under $8,000.
8. DIY Installation vs. Professional Help
When DIY Makes Sense
- Replacing an existing island countertop with a new material.
- Installing a plug‑in electric stove and a basic vent hood.
- Adding pull‑out drawers or simple cabinetry.
When to Hire a Pro
- Installing gas lines or converting to gas.
- Integrating a downdraft ventilation system.
- Structural modifications that affect load‑bearing walls.
Consulting a licensed contractor ensures compliance with local building codes and prevents costly mistakes.
9. Maintenance Tips to Keep Your Island Stove Spotless
Daily Cleaning Routine
Wipe the stovetop surface with a non‑abrasive cleaner after each use. For induction, a simple glass‑cooktop cleaner works wonders. For gas, remove burner caps and clean the ports to prevent clogging.
Monthly Deep‑Clean
Scrub the vent hood filters with warm, soapy water, or run them through the dishwasher if they’re dishwasher‑safe. Check the gasket seals on the stove to ensure a tight fit and replace if cracked.
Seasonal Inspection
Inspect gas connections for leaks using a soap‑solution test, and verify that the electrical wiring to the induction unit is secure. Replace any frayed cords promptly.
10. Real‑World Inspiration: Showcasing Successful Island‑Stove Designs
Modern Minimalist
A white quartz island with a hidden 36‑inch gas range, recessed LED lighting, and a brushed‑nickel downdraft vent creates a clean, uncluttered look. Open shelving on the opposite side holds sleek dinnerware.
Industrial Chic
Concrete countertop paired with a stainless‑steel commercial‑grade range, exposed brick backsplash, and pendant lights with metal cages. The rugged aesthetic is softened by warm wood bar stools.
Cozy Farmhouse
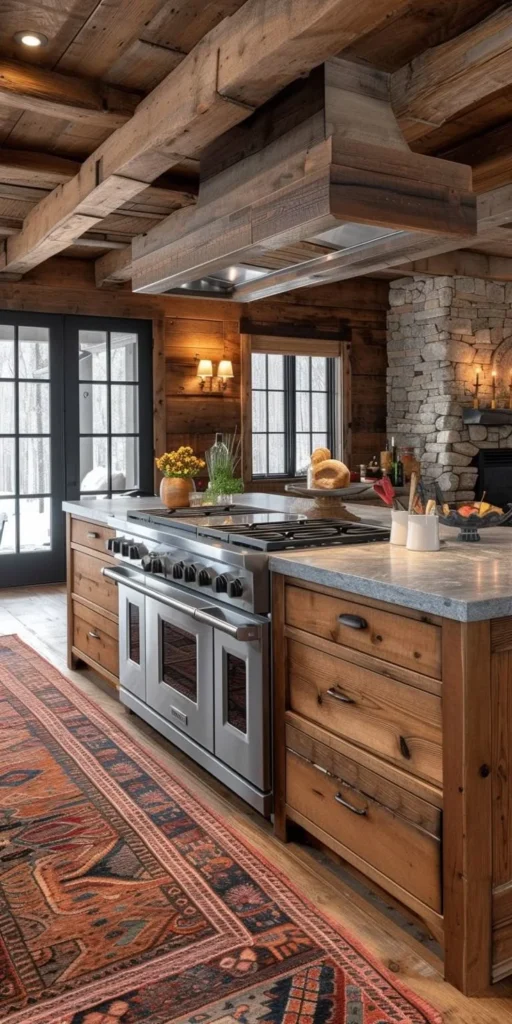
Butcher‑block island topped with a vintage‑style gas stove, a farmhouse sink on the side, and open cabinets displaying mason‑jar storage. A wrought‑iron chandelier adds rustic charm.
Exploring galleries of island kitchens can spark ideas that align with your personal style. Each of these examples demonstrates how thoughtful layout, material selection, and lighting converge to create a functional centerpiece.
By blending functional design principles with personal flair, a kitchen island with a stove can become the heart of your home—where meals are prepared, stories are shared, and memories are cooked up daily. Whether you choose a high‑end custom build or a modest DIY upgrade, the ideas outlined here will guide you toward a space that is as beautiful as it is practical.