 Admin
Admin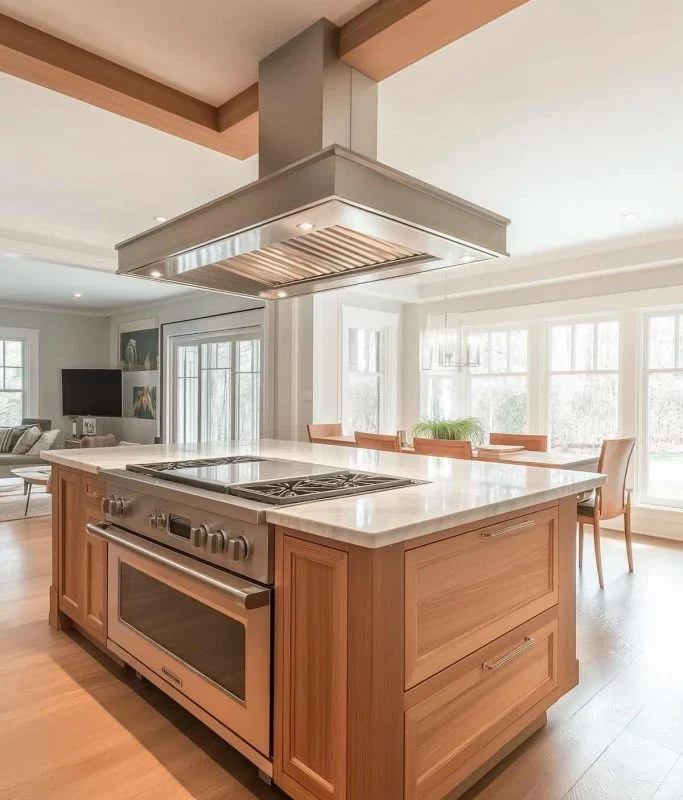
When you hear the phrase “island kitchen with stove,” a vivid image of a spacious, social cooking hub instantly appears. This design trend places the stove—the heart of culinary activity—centered on an island, turning a traditionally linear kitchen into an interactive gathering space. Homeowners love it because it combines professional‑grade functionality with the casual, open‑plan feel of modern living. In this comprehensive guide, we’ll explore every facet of creating an island kitchen with stove, from layout fundamentals and appliance selection to safety considerations, ventilation strategies, and finishing touches that elevate the space from merely practical to truly spectacular.
Building an island kitchen with stove isn’t just about swapping a wall‑mounted range for a freestanding one; it’s a holistic design decision that impacts workflow, traffic patterns, and the overall aesthetic of your home. Whether you’re renovating a compact urban loft or a sprawling suburban residence, the principles outlined here will help you achieve a balanced, ergonomic, and visually striking centerpiece that invites both seasoned chefs and casual diners alike.
Below, we break down the critical steps and considerations that will guide you from concept to completion, ensuring your island stove becomes the star of the kitchen while maintaining safety, efficiency, and style.
Why Choose an Island Kitchen With Stove?
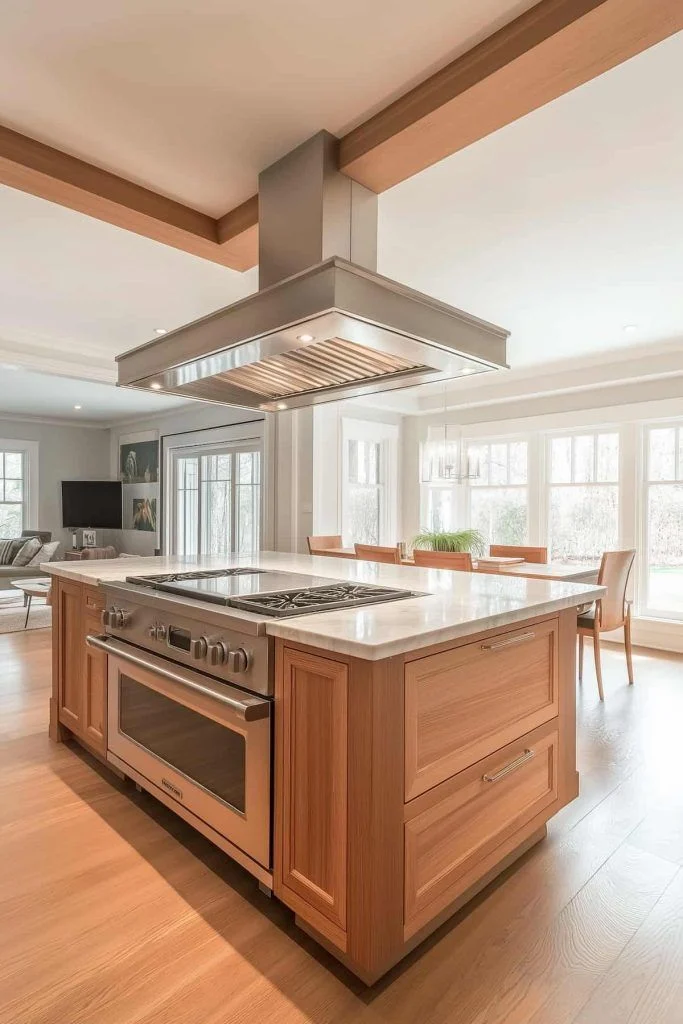
Placing the stove on an island offers several compelling advantages over traditional wall‑mounted configurations. First, it creates a natural gathering point where family members can chat, help with prep, or simply enjoy the aroma of cooking. Second, it enhances the work triangle— the classic kitchen layout principle linking the sink, refrigerator, and cooking area—by providing a more flexible, open‑ended flow. Finally, an island stove opens up design possibilities, allowing you to select premium ranges, integrated downdraft vents, and custom countertop materials that would be difficult to accommodate on a wall.
Improved Social Interaction
- Guests can watch the cooking process, fostering a communal dining experience.
- Parents can keep an eye on children while preparing meals, improving safety.
- The island doubles as a breakfast bar, making the kitchen a multi‑purpose hub.
Enhanced Workflow Efficiency
- Positioning the stove centrally reduces the distance between prep stations and cooking surfaces.
- Allows for multiple chefs to work simultaneously without stepping on each other’s toes.
- Facilitates “zone cooking,” where each side of the island can serve a specific function—sautéing on one side, plating on the other.
Design Flexibility
- Freestanding ranges can be larger, with dual ovens, griddles, or built‑in grills.
- Custom countertops—such as waterfall quartz or reclaimed wood—can wrap around the stove for a seamless look.
- Integrated lighting and ventilation solutions become design focal points rather than afterthoughts.
Planning the Layout: Space, Size, and Safety
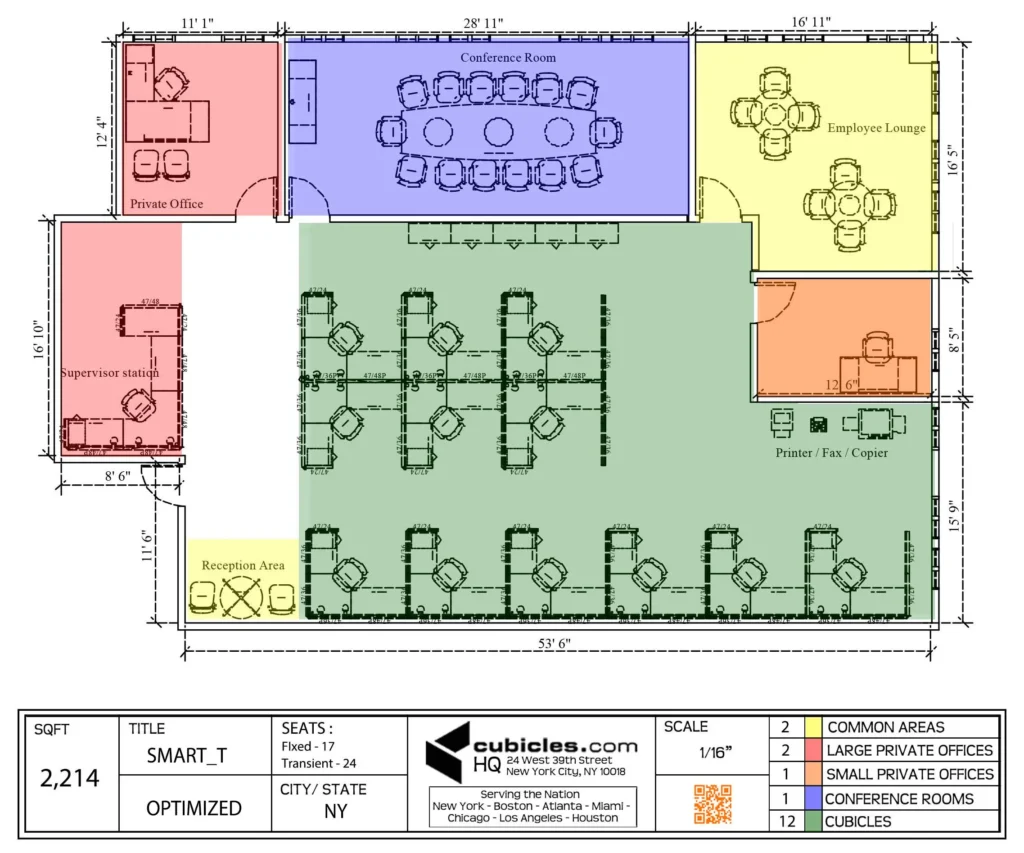
The success of an island kitchen with stove hinges on thoughtful planning. Below are the essential measurements and safety guidelines you must respect before ordering cabinets or appliances.
Clearance Requirements
According to the National Kitchen & Bath Association (NKBA), a minimum of 42 inches of clearance should surround all sides of a cooking appliance. For an island stove, this means you need at least 42 inches of open space on all four sides of the island to allow safe movement and easy access to pots, pans, and utensils. In high‑traffic homes, aim for 48‑50 inches to prevent congestion.
Island Dimensions
Typical island widths range from 36 to 48 inches, while length can vary from 60 to 96 inches depending on the kitchen’s overall footprint. When incorporating a stove, ensure the island’s depth can accommodate the range’s footprint plus a minimum of 12 inches of countertop on each side for prep space.
Ventilation Strategies
Proper ventilation is non‑negotiable for an island stove. You have two main options:
- Downdraft Ventilation: Installed directly behind the cooktop, it pulls smoke and steam down through a concealed duct. Ideal for a sleek, uninterrupted island profile.
- Overhead Vent Hood: A traditional hood mounted on a ceiling island can provide more powerful extraction but requires careful coordination with ceiling height and cabinetry.
For detailed guidance on choosing and installing the right system, see The Ultimate Island Stove Top Guide, which walks you through the pros and cons of each approach.
Electrical and Gas Considerations
Freestanding ranges may be gas, electric, or dual‑fuel. Gas models need a certified plumber to install a dedicated line with proper shut‑off valves, while electric ranges typically require a 240‑volt circuit with a dedicated breaker. Always consult licensed professionals to meet local building codes and to ensure safe operation.
Choosing the Right Stove for Your Island
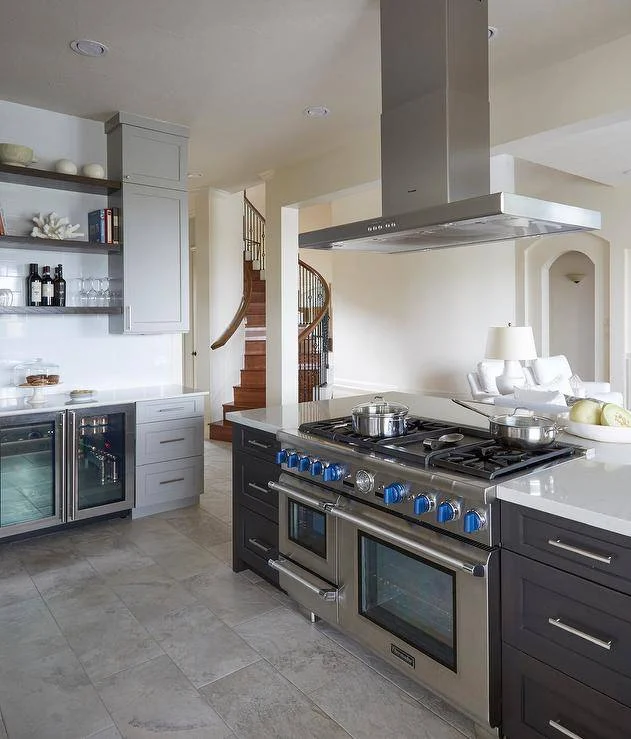
Selecting the appropriate stove model is a blend of culinary ambition and practical constraints. Below are the key categories and features to evaluate.
Fuel Type
- Gas: Offers instant heat control, ideal for high‑heat searing and precise simmering.
- Electric Induction: Provides rapid heating, energy efficiency, and a sleek glass surface that integrates well with modern island aesthetics.
- Dual‑Fuel: Combines a gas cooktop with an electric oven, delivering the best of both worlds for serious chefs.
Burner Configuration
Consider the number and size of burners based on your cooking style. A common layout for island ranges includes:
- One high‑output 15,000‑BTU burner for wok or rapid boil.
- Two medium burners (9,000–12,000 BTU) for everyday sautéing.
- One low‑output simmer burner (2,000–3,000 BTU) for delicate sauces.
Oven Features
If the island includes a double oven, think about the following:
- Convection fans for even baking.
- Steam injection for artisan breads.
- Self‑cleaning cycles that reduce maintenance.
Design Aesthetics
Stove finishes range from classic stainless steel to matte black, brushed copper, or custom panel‑ready units that blend with your countertop material. Choose a finish that complements the overall kitchen palette and hardware.
Integrating the Island Into the Overall Kitchen Design

The island should feel like a natural extension of the surrounding cabinetry and décor. Achieve harmony through consistent materials, balanced proportions, and thoughtful detailing.
Countertop Continuity
Using the same countertop material across the island and perimeter surfaces creates visual flow. For example, a waterfall quartz island that extends the same slab as the surrounding counters reinforces a seamless, high‑end appearance.
Storage Solutions
Since the island occupies prime floor space, maximize its utility with built‑in drawers, pull‑out spice racks, and deep cabinets for pots and pans. A hidden trash bin or recycling compartment can keep the workspace tidy.
Lighting Design
Layered lighting enhances both function and ambiance. Install pendant lights directly above the cooking surface to provide focused illumination, while recessed ceiling lights ensure even overall brightness. Dimmer switches allow you to transition from bright cooking mode to a soft, dinner‑time glow.
Seating Arrangements
Incorporate a breakfast bar on one side of the island with comfortable bar stools. Keep the seating height consistent—typically 30‑36 inches from the countertop—to maintain ergonomic comfort. If space permits, a curved countertop extension can create a more inviting, inclusive atmosphere.
Safety Best Practices for an Island Stove

While an island stove adds excitement, it also introduces specific safety challenges. Follow these best practices to protect your household.
Fire Suppression
- Keep a Class K fire extinguisher within easy reach of the island.
- Install a heat‑resistant mat or silicone pads under pots to prevent accidental spills from igniting.
Child Guarding
Install front‑panel knobs that are difficult for children to turn, or consider touch‑control cooktops that eliminate protruding handles. Adding a safety gate around the kitchen perimeter can further reduce risk.
Ventilation Maintenance
Clean the downdraft or hood filter regularly—at least monthly—to maintain airflow efficiency and prevent grease buildup, which can become a fire hazard.
Electrical Safety
Ensure all electrical connections are grounded and that the circuit breaker is clearly labeled. Use a professional electrician for any upgrades, especially when adding a high‑amp induction range.
Budgeting and Cost Considerations

Creating an island kitchen with stove is an investment that can range widely based on size, materials, and appliance selection. Below is a rough breakdown to help you set realistic expectations.
Core Cost Categories
- Island Cabinetry & Structure: $5,000‑$15,000 depending on custom millwork and hardware.
- Countertop Materials: $70‑$250 per square foot for quartz, marble, or solid surface.
- Stove Appliance: $2,000‑$10,000 for premium gas, induction, or dual‑fuel models.
- Ventilation System: $800‑$3,000 for downdraft units; $1,200‑$5,000 for high‑capacity hoods.
- Installation & Labor: $3,000‑$8,000 for plumbing, electrical, and carpentry work.
Saving Strategies
To keep costs in check without sacrificing quality, consider the following:
- Choose a standard-size island rather than a custom footprint.
- Opt for a high‑quality yet mass‑produced stove instead of a boutique brand.
- Source reclaimed wood or surplus quartz slabs for the countertop.
- Schedule installation during off‑peak seasons when contractors may offer discounted rates.
Case Studies: Real‑World Island Kitchens With Stoves

Examining finished projects can inspire your own design. Below are three diverse examples that showcase how homeowners addressed layout, ventilation, and styling challenges.
Modern Urban Loft
This 1,200‑sq‑ft loft features a 78‑inch island with a 48‑inch gas range and a concealed downdraft vent. The island’s waterfall quartz matches the floor‑to‑ceiling glass walls, creating an uninterrupted visual line. Open shelving on the island’s outer edge houses spices and utensils, while pendant lighting adds a sculptural element.
Family‑Friendly Suburban Kitchen
A 2,500‑sq‑ft home incorporates a large L‑shaped layout with a 96‑inch island. The stove is an electric induction model paired with a dual‑oven stack. A built‑in warming drawer and a pull‑out pantry are tucked into the island, making it a functional workhorse for busy weeknight meals and holiday feasts alike.
Rustic Country Kitchen
In this farmhouse renovation, a reclaimed oak island hosts a 30‑inch gas range with an overhead vent hood painted to match exposed brick walls. The island’s front side includes a breakfast bar with leather‑upholstered stools, while the backside holds a farmhouse sink, merging cooking and cleaning zones efficiently.
Maintenance Tips for Longevity

To keep your island stove looking pristine and performing optimally, adopt a regular maintenance routine.
Daily Care
- Wipe the cooktop after each use with a non‑abrasive cleaner.
- Empty and clean the grease trap or filter in the ventilation system.
Monthly Checks
- Inspect burner ports for clogs and clean with a soft brush.
- Test the stovetop’s safety shut‑off feature (if equipped).
- Check cabinet hinges and drawer slides for any loose screws.
Annual Professional Service
Schedule a qualified technician to service the gas lines, electrical connections, and vent ductwork. This preventative maintenance can catch wear before it becomes a costly repair.
By adhering to these practices, you’ll ensure that your island kitchen with stove remains a vibrant, functional centerpiece for years to come, supporting countless meals, celebrations, and everyday moments.
Designing an island kitchen with stove is a rewarding endeavor that blends culinary performance with social interaction and aesthetic elegance. From meticulous planning and safety compliance to thoughtful material selection and ongoing care, each step contributes to a space that not only meets the practical demands of cooking but also enhances the lifestyle of everyone who gathers around it. Embrace the possibilities, stay attentive to details, and watch your kitchen transform into a chef’s playground that inspires creativity and connection every day.
