 Admin
Admin
Wax ring replacement is one of those home maintenance tasks that many homeowners dread, yet it’s essential for preventing water damage and unpleasant odors in the bathroom. The wax ring creates a watertight seal between the toilet base and the drain pipe, and when it fails, even a small leak can turn into a major problem. In this article we’ll explore everything you need to know about wax rings, how to spot a failing seal, and the precise steps to replace it like a pro.
Whether you’re a seasoned DIY enthusiast or a first‑time homeowner, understanding the mechanics of a wax ring and mastering its replacement can save you time, money, and a lot of stress. We’ll break down the process into manageable stages, list the tools you’ll need, and share pro tips that often go unmentioned in generic tutorials. By the end of this guide, you’ll feel confident tackling the job without calling a plumber.
If you’re looking for an even deeper dive, the ultimate DIY guide to replacing wax ring on toilet – stop leaks forever! provides a visual walkthrough that complements the information presented here.
Understanding the Wax Ring and Its Role
The wax ring, often simply called a wax seal, is a doughnut‑shaped piece of pliable wax that fits snugly between the toilet’s horn (the outlet at the bottom) and the closet flange attached to the floor’s drain pipe. When compressed, the wax forms a flexible, waterproof barrier that accommodates slight movements and irregularities in the flange.
Why Wax?
- Flexibility: Wax can deform under pressure, ensuring a tight seal even if the flange isn’t perfectly level.
- Water Resistance: The material repels water, preventing leaks that could damage subflooring.
- Cost‑Effective: Wax rings are inexpensive, typically ranging from $2 to $8, making them a budget‑friendly solution.
Alternative Seals
While traditional wax rings remain popular, some homeowners opt for silicone or rubber gaskets, which can be easier to install and remove. However, wax still dominates the market because of its proven reliability and low cost.
Signs Your Wax Ring Needs Replacement
Detecting a failing wax ring early can prevent water damage and mold growth. Look for the following indicators:
- Water on the Floor: A steady or intermittent puddle around the base of the toilet after flushing.
- Foul Odors: A persistent sewer smell that intensifies after using the bathroom.
- Wobbling Toilet: Excessive movement when you sit down, suggesting the flange is no longer seated correctly.
- Visible Gasket Damage: If you remove the toilet and see cracks, deformations, or dried wax remnants on the flange.
Even if you haven’t noticed these symptoms, it’s wise to replace the wax ring every 5‑7 years as a preventative measure.
Tools and Materials Required
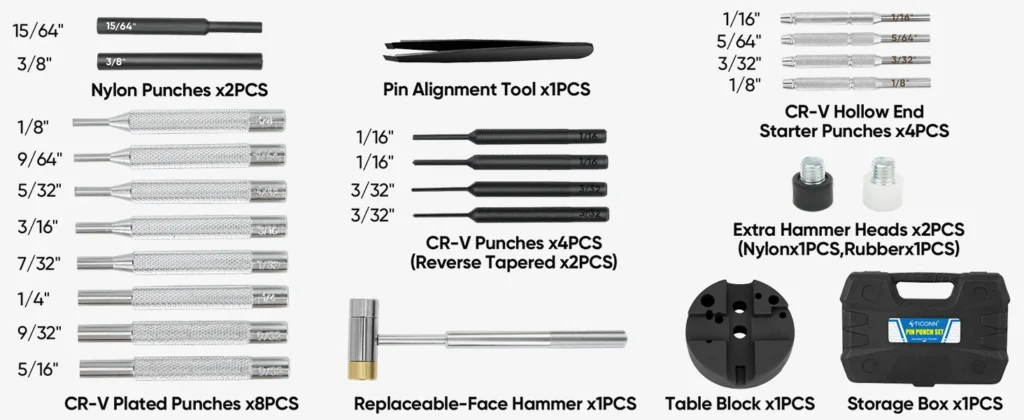
Gathering the right tools before you start will make the process smoother. Here’s a checklist:
- Adjustable wrench or socket set (usually ½‑inch)
- Flat‑head screwdriver
- Rubber gloves
- Old towels or rags
- Bucket (to catch any residual water)
- Wax ring (standard or reinforced with a plastic funnel)
- Flange repair kit (optional, if the flange is damaged)
- Plunger (to remove excess water from the bowl)
Step‑by‑Step Wax Ring Replacement Procedure

1. Prepare the Work Area
Start by clearing the bathroom floor around the toilet. Lay down old towels to protect the surface and soak up any spills. Turn off the water supply to the toilet by closing the shut‑off valve located behind the unit.
2. Empty the Toilet Bowl
Flush the toilet several times to remove as much water as possible. Use a plunger to force any remaining water out of the trap, and then mop up the residual moisture with your towels.
3. Disconnect the Water Line
Using an adjustable wrench, loosen the nut that connects the water supply line to the bottom of the tank. Have a bucket ready to catch any drips. Once detached, set the line aside.
4. Remove the Toilet
Locate the bolts securing the toilet to the floor (usually two, hidden under caps). Unscrew these bolts with a socket or wrench. Gently rock the toilet back and forth to break the seal, then lift the unit straight up. Be prepared for the weight—most toilets weigh 70‑120 pounds.
5. Inspect and Clean the Flange
With the toilet removed, examine the closet flange. Look for cracks, corrosion, or signs of movement. Use a wire brush to clean any old wax residue. If the flange is damaged, now is the time to install a repair kit before proceeding.
6. Install the New Wax Ring
Place the new wax ring onto the flange, ensuring the central hole aligns with the drain. For added stability, some plumbers recommend positioning the wax ring on the bottom of the toilet outlet instead, then setting the toilet onto it. Either method works as long as the wax is fully compressed during installation.
7. Re‑Seat the Toilet
Carefully lower the toilet back onto the flange, aligning the bolt holes with the closet bolts. Press down firmly to compress the wax ring and create a seal. You may feel a slight “snap” as the wax conforms to the surfaces.
8. Secure the Toilet
Tighten the closet bolts evenly—alternating sides—to avoid cracking the porcelain. Do not overtighten; a snug fit is sufficient. Replace the bolt caps for a finished look.
9. Reconnect the Water Supply
Reattach the water supply line, tighten the nut, and turn the shut‑off valve back on. Allow the tank to fill, then flush the toilet a few times to check for leaks around the base.
10. Final Inspection
Look closely at the floor for any moisture. If you notice any seepage, gently tighten the bolts a bit more or reseat the toilet. Once satisfied, clean up the area and replace any removed flooring or trim.
Troubleshooting Common Issues
Leak Persists After Replacement
If water continues to pool after you’ve installed a new wax ring, consider the following:
- Flange Height: The flange should sit level with, or slightly above, the finished floor. A low flange may require a flange extender.
- Cracked Flange: Even a small crack can break the seal; replace the flange if necessary.
- Improper Bolt Tightening: Over‑tightening can warp the toilet, breaking the seal. Adjust gently.
Toilet Wobbling
A wobble often indicates uneven floor or a misaligned flange. Use shims—thin pieces of plastic or wood—under the base to level the toilet before tightening the bolts. Ensure the shims do not interfere with the wax ring’s compression.
Maintenance Tips to Extend Wax Ring Life
Regular Inspection
Every six months, check the base of the toilet for moisture or odors. Early detection can prevent a full‑scale replacement later.
Mind the Weight
Avoid jumping or placing heavy objects on the toilet seat, as excess pressure can shift the toilet and compromise the wax seal.
Upgrade When Needed
If you’re renovating or already have the toilet removed for another repair, consider swapping a standard wax ring for a reinforced version with a plastic funnel. These are especially useful in older homes where the flange may be slightly off‑level.
By following these guidelines, you’ll keep your bathroom dry, odor‑free, and functioning smoothly for years to come.
For homeowners interested in broader home improvement topics, you might also enjoy reading about Jack and Jill bathroom designs, which blend functionality with modern aesthetics. And if you’re tackling multiple projects, the ultimate guide to Briggs and Stratton lawn mower oil offers insights on maintaining other crucial home equipment.
Replacing a wax ring may seem intimidating at first glance, but with the right preparation and a systematic approach, it becomes a straightforward task that most DIYers can accomplish. Remember to work methodically, keep your tools organized, and double‑check each step before moving on. A secure seal not only protects your home’s structure but also provides peace of mind every time you use the restroom.