 Admin
Admin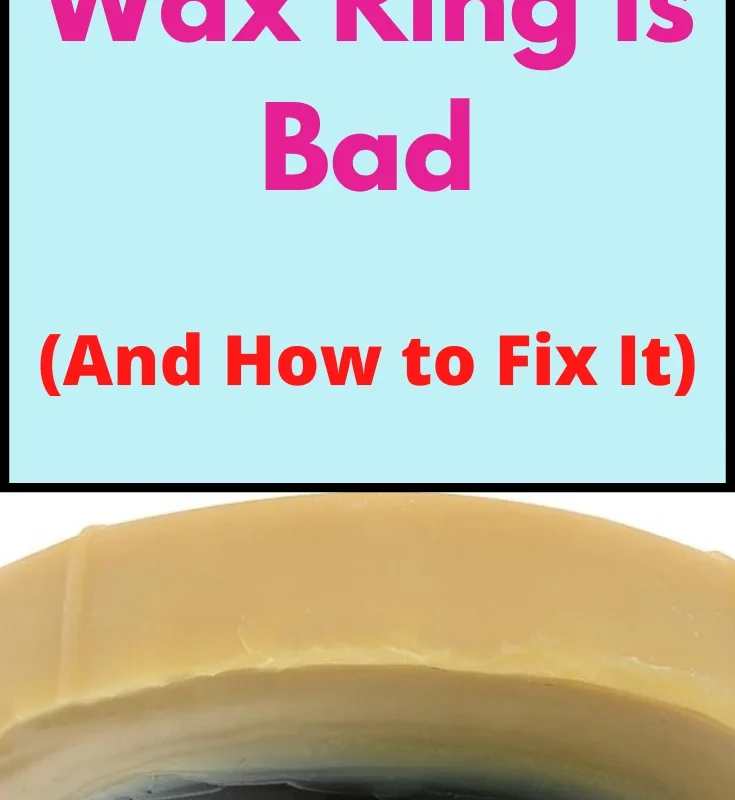
Replacing wax ring on toilet is one of the most common yet misunderstood plumbing tasks homeowners face. When the seal between the toilet base and the waste pipe fails, you’ll notice water pooling around the floor, a foul odor, or a persistent drip whenever the toilet is flushed. Tackling this problem yourself not only saves a costly plumber visit but also gives you confidence in maintaining your bathroom’s health. In this comprehensive guide, we’ll walk you through every detail—from identifying the signs of a bad wax ring to mastering the exact steps required for a flawless replacement.
Before you dive in, it’s helpful to understand why the wax ring exists in the first place. It acts as a flexible, watertight barrier that accommodates slight movements of the toilet while keeping sewer gases sealed out of your home. Over time, the wax can deteriorate, crack, or become displaced, especially in high‑traffic households. Recognizing the early symptoms—such as a slight wobble, a faint hissing sound, or discoloration around the flange—can prevent water damage to subflooring and costly mold remediation later on.
If you’re planning a broader bathroom remodel, consider how a new wax ring fits into the bigger picture. For inspiration on cohesive bathroom upgrades, check out the latest trends in Jack and Jill bathroom designs, which seamlessly blend functionality with modern aesthetics.
Why the Wax Ring Matters
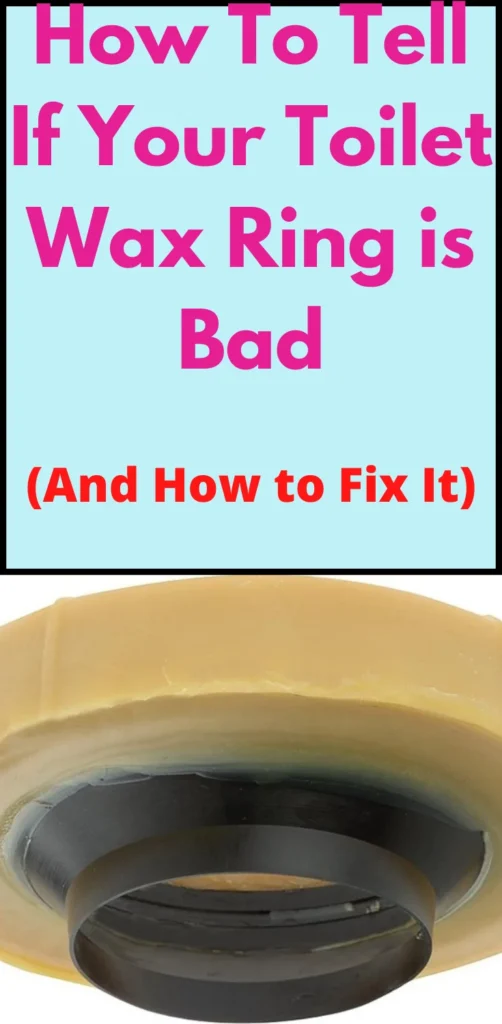
The wax ring is more than a simple gasket; it’s the linchpin that maintains a leak‑free connection between the toilet and the drainage system. Without a proper seal, wastewater can seep into the floor joists, leading to structural rot and health hazards. Moreover, a compromised wax ring can allow sewer gases—containing methane and hydrogen sulfide—to escape, creating unpleasant odors and potential safety risks.
Because the wax ring is designed to compress under the weight of the toilet, it forms a tight seal even if the flange is slightly misaligned. However, this flexibility has limits. Excessive movement, a cracked flange, or using the wrong size wax ring can all undermine its effectiveness. Understanding these nuances helps you choose the right replacement and install it correctly the first time.
Tools and Materials You’ll Need
Essential Tools
- Adjustable wrench or socket set (for shutting off the water supply and removing the tank bolts)
- Flat‑head screwdriver (to pry off the tank cover and disconnect the flush valve)
- Putty knife or scraper (to remove the old wax)
- Rubber gloves (to keep your hands clean and protect against bacteria)
- Level (to verify that the toilet sits perfectly flat after installation)
Materials and Replacement Parts
- Wax ring – standard, reinforced, or wax‑free silicone options
- Wax ring with a built‑in flange (ideal for older or slightly damaged flanges)
- New toilet bolts and nuts (often included with the wax ring kit)
- Plumber’s putty or silicone caulk (optional, for sealing around the base)
- Cleaning rags and a bucket (to catch any residual water)
Choosing the right type of wax ring can make a huge difference. For most residential installations, a standard wax ring works fine, but if you have a slightly uneven flange or a heavy toilet, a reinforced or wax‑free silicone ring offers extra durability.
Step‑by‑Step Replacement Process
Step 1: Shut Off the Water Supply
Locate the shut‑off valve behind the toilet (usually a small knob on the wall). Turn it clockwise until it stops. Flush the toilet to drain as much water as possible from the tank and bowl. Use a sponge or towels to soak up any remaining moisture in the tank.
Step 2: Disconnect the Water Line
Using an adjustable wrench, loosen the nut connecting the water supply line to the bottom of the tank. Have a bucket ready to catch any stray water that may escape.
Step 3: Remove the Toilet
Unscrew the bolts that secure the toilet to the floor. Gently rock the toilet back and forth to break the seal of the old wax ring. Once loosened, lift the toilet straight up—ask a partner for help, as a standard toilet can weigh over 150 lb. Place the unit on a padded surface to avoid damage.
Step 4: Clean the Flange and Remove Old Wax
Scrape away all remnants of the old wax ring from the flange and the toilet base using a putty knife. Ensure the flange is free of debris, rust, or broken pieces. If the flange is damaged, this may be the time to replace it before proceeding.
Step 5: Install the New Wax Ring
Place the new wax ring onto the flange, ensuring the tapered side faces upward. If you’re using a wax ring with a built‑in flange, align the plastic flange with the toilet’s bolt holes. Some professionals recommend placing the wax ring directly onto the toilet outlet instead; this can provide a cleaner seal, especially with wax‑free rings.
Step 6: Re‑Seat the Toilet
Carefully lower the toilet onto the wax ring, aligning the bolt holes with the flange’s slots. Press down firmly and evenly for about 30 seconds to compress the wax and create a solid seal. Avoid rocking the toilet once it’s seated, as this can break the wax seal.
Step 7: Secure the Toilet
Insert new bolts through the flange slots and tighten the nuts onto the toilet base. Use a torque wrench if available—over‑tightening can crack the porcelain, while under‑tightening can allow movement and compromise the seal. Aim for a snug fit that eliminates wobble.
Step 8: Reconnect the Water Supply
Reattach the water supply line to the tank and tighten the nut. Slowly open the shut‑off valve, allowing the tank to fill. Check for any leaks around the base and the supply connection. If you notice water escaping, tighten the connections a bit more or re‑seat the wax ring.
Step 9: Test the Installation
Flush the toilet several times, watching for any signs of leakage around the base. Use a piece of newspaper or a dry towel under the flange for a quick leak test; if the paper stays dry after a few flushes, you’ve succeeded.
Common Mistakes and How to Avoid Them
Even seasoned DIYers can slip up during a wax ring replacement. Below are the most frequent errors and practical tips to keep your project on track.
- Using the Wrong Size Wax Ring: Measure the flange’s diameter before buying a ring. An ill‑fitting ring leaves gaps, leading to leaks.
- Not Cleaning the Flange Thoroughly: Residual wax or rust prevents a proper seal. Scrape aggressively and, if needed, sand the flange lightly.
- Over‑Tightening the Bolts: This can crack the toilet’s porcelain base. Tighten just enough to eliminate wobble.
- Skipping the Level Check: An uneven toilet creates stress points on the wax ring. Use a level after seating the toilet to confirm it’s perfectly flat.
- Ignoring Flange Damage: A cracked or corroded flange often requires replacement. Continuing with a bad flange guarantees future leaks.
Maintenance Tips to Extend the Life of Your Wax Ring
Once you’ve installed a fresh wax ring, a few preventive habits can stretch its lifespan and keep your bathroom dry.
- Inspect the toilet periodically for wobble—addressing a loose base early prevents seal damage.
- Avoid using harsh chemicals that could degrade the wax. Simple bathroom cleaners are sufficient.
- Keep the surrounding floor dry; excess moisture can soften the wax over time.
- Consider applying a thin bead of silicone caulk around the base after the wax ring has set. This adds an extra barrier against water seepage while still allowing the toilet to move slightly.
- If you have a heavy‑use toilet (e.g., in a multi‑person household), schedule a visual check every six months to catch early wear.
By following these maintenance practices, you’ll reduce the likelihood of needing another replacement for years to come. And should you ever decide to upgrade your entire bathroom, remember that a reliable wax ring is the foundation of any successful remodel.
Replacing a wax ring on a toilet may sound daunting, but with the right tools, clear steps, and a bit of patience, it’s a manageable DIY project that pays off instantly. Not only will you eliminate unsightly leaks, but you’ll also gain a deeper appreciation for the small yet critical components that keep your home running smoothly. So roll up your sleeves, gather your supplies, and give your toilet the seal it deserves—your floors, your wallet, and your peace of mind will thank you.
