 Admin
AdminReplacing the wax ring on a toilet is one of those home‑maintenance tasks that often gets postponed until a leak forces you to act. The wax ring creates a watertight seal between the toilet base and the waste pipe, and a compromised ring can lead to water damage, unpleasant odors, and costly repairs. Understanding how to put a wax ring on a toilet correctly not only saves you money but also gives you confidence in tackling other minor plumbing projects.
This guide walks you through every stage of the process—from gathering the right tools to checking the flange for wear—so you can complete the job efficiently and without leaks. Whether you’re a seasoned DIY enthusiast or a first‑time homeowner, the step‑by‑step instructions below will make the task feel straightforward.
How to Put a Wax Ring on a Toilet: Essential Tools and Materials

Before you begin, assemble the following items. Having everything at hand prevents interruptions and helps you maintain a clean work area.
- Wax ring (standard or reinforced, depending on your flange condition)
- New toilet bolts and washers (optional but recommended)
- Adjustable wrench or a socket set
- Flathead screwdriver
- Putty knife
- Rubber gloves
- Bucket and old towels
- Level (to confirm the toilet sits evenly)
If your flange is corroded or cracked, you may also need a tankless water heater installation guide for insight on selecting a replacement flange kit. Though the link references water heaters, the guide includes helpful sections on flange compatibility that are directly applicable to toilet repairs.
Step‑by‑Step: How to Put a Wax Ring on a Toilet
Step 1 – Shut Off the Water Supply
Locate the shut‑off valve behind the toilet (usually a small knob or lever). Turn it clockwise until it stops. Flush the toilet to empty the tank and bowl, and use a sponge or a wet/dry vacuum to remove any remaining water from the tank and the base. This ensures a dry workspace and reduces the risk of slipping.
Step 2 – Remove the Existing Toilet
Unscrew the nuts on the toilet bolts with an adjustable wrench. Gently rock the toilet back and forth to break the old wax seal, then lift the unit straight up. It’s helpful to have a helper at this stage, as toilets can weigh 150 lb or more. Place the toilet on a protective sheet or old towels to keep your floor clean.
Step 3 – Inspect the Flange and Clean the Area
With the toilet removed, you can clearly see the closet flange—the circular pipe fitting that sits on the floor. Use a putty knife to scrape away any remnants of the old wax ring. Check the flange for cracks, rust, or broken bolts. If the flange is damaged, replace it before proceeding; otherwise the new wax ring won’t seal properly.
Step 4 – Choose the Right Wax Ring
Standard wax rings work for most installations, but if the flange sits below the floor level, a wax‑free or reinforced wax ring with a built‑in flange is advisable. These variants provide extra compression and are less prone to shifting.
Step 5 – Install the New Wax Ring
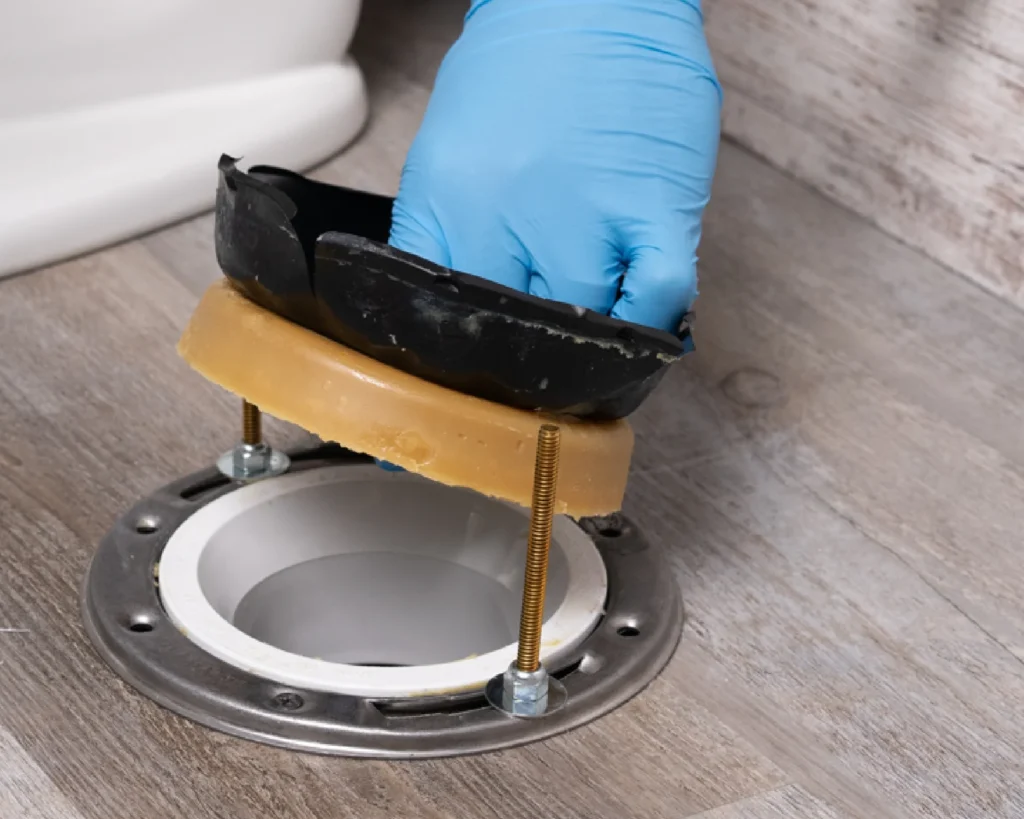
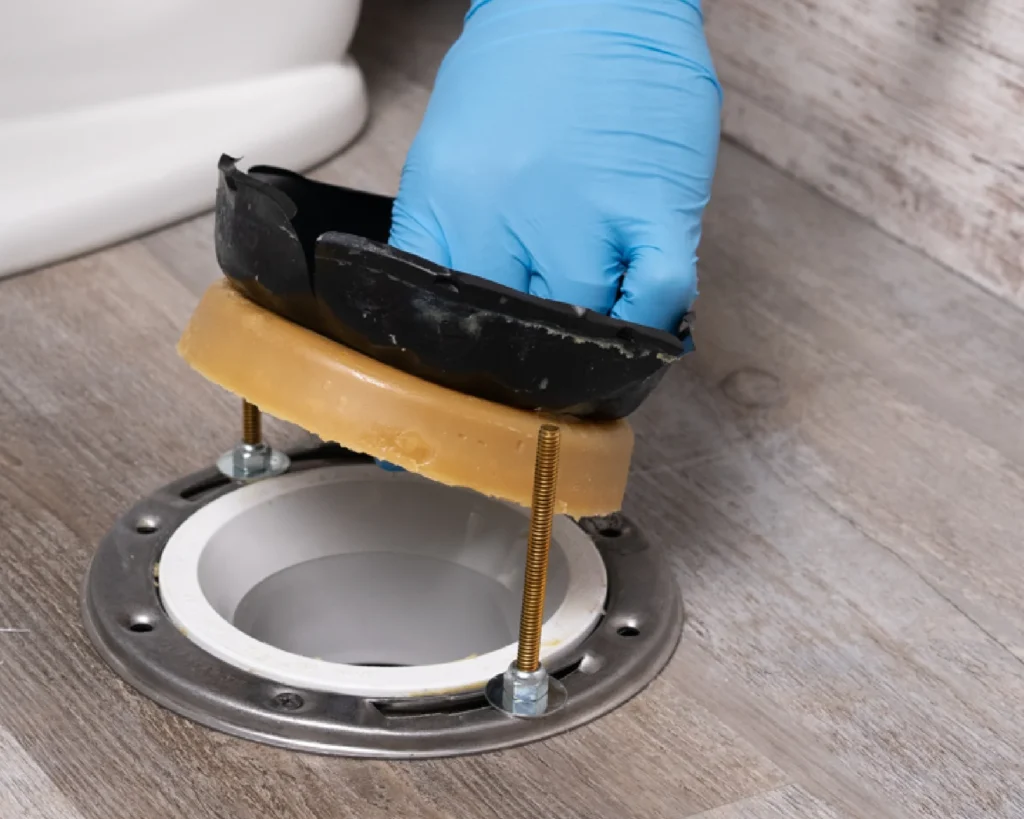
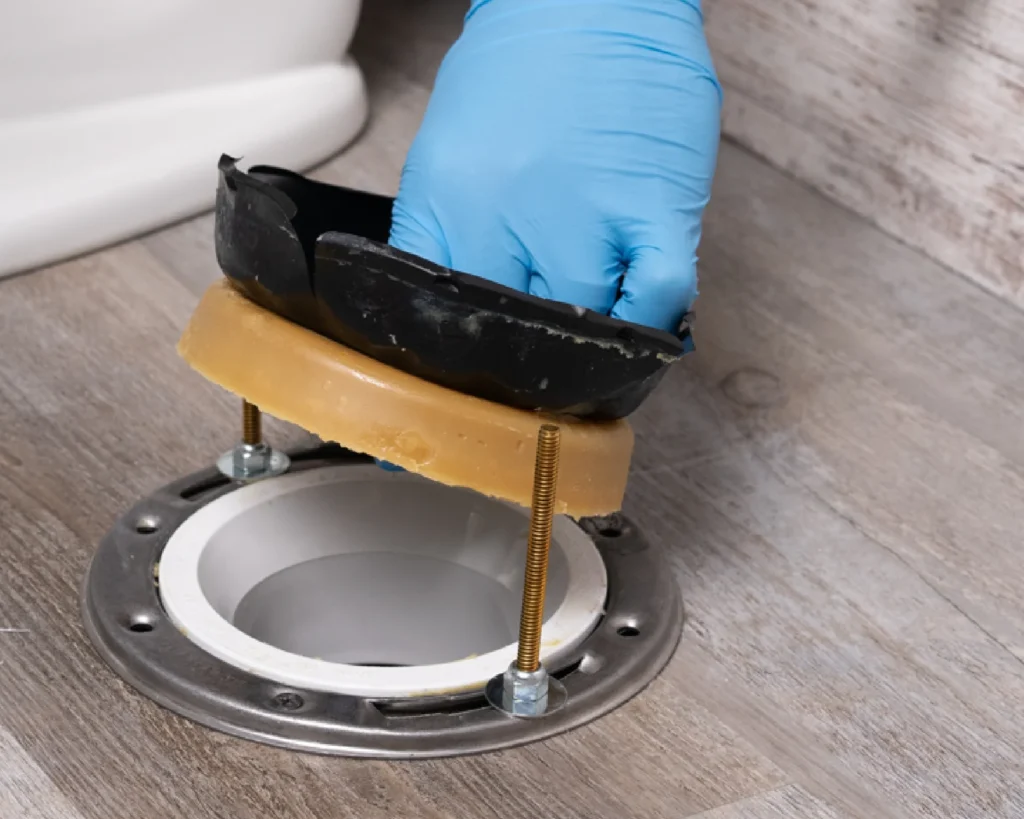
This is the core of the How to Put a Wax Ring on a Toilet process. Center the wax ring over the flange, ensuring the tapered side faces up. For reinforced rings with a plastic flange, align the plastic flange with the waste pipe opening. Some professionals recommend placing the wax ring on the toilet outlet instead of the flange—both methods are acceptable as long as the ring is centered and flat.
Step 6 – Reposition the Toilet
Lift the toilet carefully and lower it straight onto the wax ring, aligning the bolt holes with the closet bolts. Press down firmly and evenly, allowing the weight of the toilet to compress the wax. You’ll hear a subtle “squish” as the wax molds around the pipe and bolts, forming the seal.
Step 7 – Secure the Toilet
Place washers and nuts onto the closet bolts, tightening them by hand first. Then use the wrench to snug them down—alternating sides to keep the pressure even. Avoid over‑tightening; excessive force can crack the porcelain. After the bolts are secure, attach the decorative caps if your toilet has them.
Step 8 – Reconnect the Water Supply
Turn the shut‑off valve counter‑clockwise to restore water flow. Allow the tank to fill, then flush several times while watching for leaks at the base and the supply line. Use a level to confirm the toilet sits perfectly flat; an uneven toilet can cause future rocking and break the wax seal.
Common Mistakes to Avoid When You’re Learning How to Put a Wax Ring on a Toilet
- Skipping the flange inspection – A damaged flange defeats even the best wax ring.
- Using the wrong size ring – Ensure the ring matches the flange diameter.
- Applying too much force on the bolts – Over‑tightening can crack the porcelain.
- Not cleaning the old wax thoroughly – Residual wax can create gaps.
- Placing the toilet at an angle – This prevents even compression of the wax.
By staying mindful of these pitfalls, you’ll dramatically increase the chances of a leak‑free installation. For a broader view of proper sealing techniques, you might find the Kitchen Islands With Stove: Design, Function & Installation Guide useful; it discusses how to create airtight seals in high‑moisture environments, a principle that directly translates to toilet wax ring installation.
Maintenance Tips After You’ve Completed How to Put a Wax Ring on a Toilet
Regular Inspection
Check the base of the toilet periodically for any signs of moisture or movement. Early detection of a compromised seal can save you from extensive water damage.
Gentle Cleaning
Avoid harsh chemical cleaners around the base, as they can degrade the wax over time. A mild soap and water solution is sufficient for routine cleaning.
Addressing Minor Shifts
If the toilet begins to wobble, tighten the closet bolts slightly—never over‑tighten. In some cases, adding a set of plastic shims under the base can stabilize the unit without disturbing the wax seal.
When the time comes to replace the wax ring again—perhaps after several years of use or after a major plumbing repair—revisit this guide. The process remains the same, and the confidence you gain each time makes future repairs faster and more efficient.
In summary, mastering How to Put a Wax Ring on a Toilet equips you with a valuable skill that protects your bathroom from leaks, odors, and costly damage. With the right tools, a careful approach, and an eye for detail, you can achieve a professional‑grade seal in the comfort of your own home.
