 Admin
Admin
Replacing the wax ring on a toilet is one of those home maintenance tasks that can save you from a disastrous leak and costly repairs. The wax ring creates a watertight seal between the toilet base and the floor flange, and when it deteriorates, you’ll notice water seeping onto the bathroom floor, a foul odor, or a wobbling toilet. Fortunately, fixing the problem doesn’t require a professional plumber—just a little patience, the right tools, and a clear set of instructions.
In this comprehensive guide, we’ll walk you through every stage of the process: from gathering the essential supplies and shutting off the water supply to removing the old ring and installing a new one correctly. You’ll also discover troubleshooting tips for stubborn flanges, how to avoid common mistakes, and when it might be time to call in an expert. By the end, you’ll have the confidence to tackle the wax ring replacement yourself and keep your bathroom dry and odor‑free.
Before we dive into the detailed steps, remember that safety should always come first. Wear gloves, keep the work area well‑ventilated, and have a bucket ready to catch any residual water. With those precautions in place, let’s get started.
Tools and Materials You’ll Need
Essential Tools
- Adjustable wrench or a standard 14‑inch wrench (for the closet bolts)
- Flat‑head screwdriver (to remove the toilet’s bolt caps)
- Bucket or large pan (to catch any water)
- Old towels or rags (to wipe up spills)
- Rubber gloves (to keep your hands clean)
- Putty knife (for scraping old wax)
- Level (to ensure the toilet sits perfectly flat)
Materials
- New wax ring – choose a standard or reinforced wax ring depending on your flange condition
- Optional: Wax ring with a plastic funnel (ideal for older or uneven flanges)
- Silicone sealant (for extra waterproofing around the base, if desired)
- Replacement closet bolts and nuts (if the old ones are corroded)
Safety First: Preparing the Bathroom
Shut Off the Water Supply
Locate the shut‑off valve behind the toilet, usually a small lever or knob on the wall. Turn it clockwise until it stops. Open the toilet’s flush handle to drain any remaining water from the tank and bowl. Use a bucket to scoop out the residual water in the tank to avoid splashing when you disconnect the supply line.
Ventilate and Protect the Area
Wax can be messy, and the old ring may contain mildew or mold. Open a window, turn on the bathroom exhaust fan, and lay down old towels to protect the floor. Wearing rubber gloves helps prevent skin contact with any contaminants.
Removing the Old Toilet
Disconnect the Water Supply Line
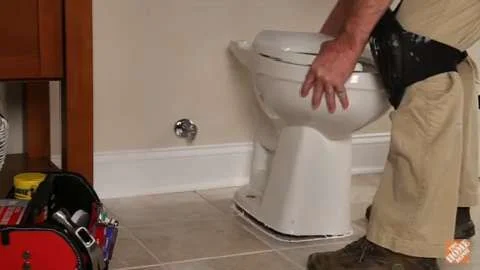
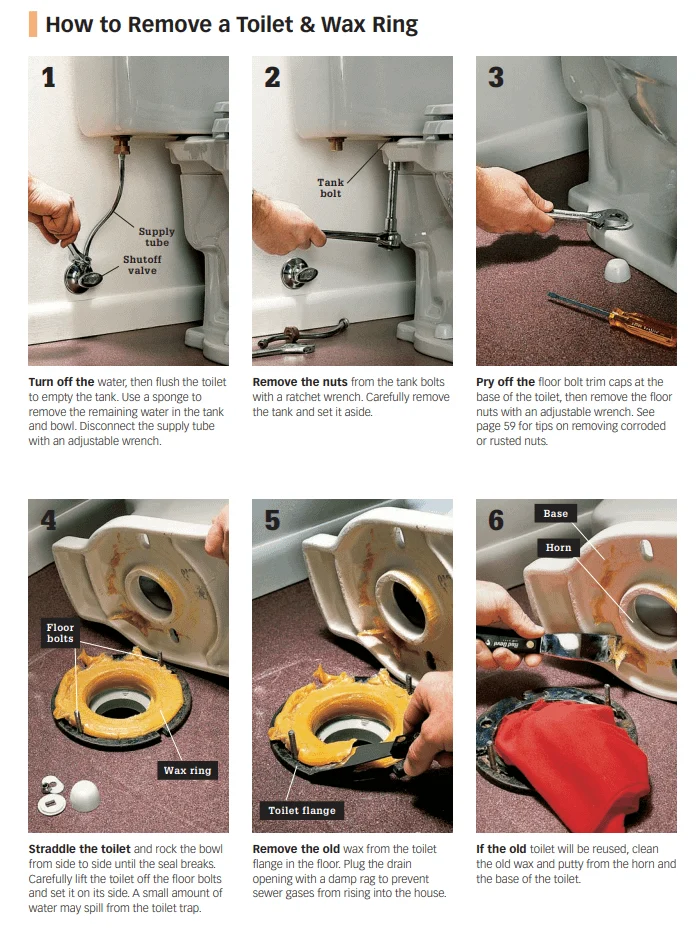
Use an adjustable wrench to loosen the nut that connects the water supply line to the bottom of the tank. Have a bucket ready to catch a few drips. Once loose, gently pull the line away.
Detach the Closet Bolts
The toilet is secured to the floor by two (sometimes three) closet bolts that sit in the flange. Pop off the decorative caps with a flat‑head screwdriver, then use the wrench to unscrew the nuts. If the bolts are rusted, you may need a penetrating oil and extra time to loosen them.
Lift the Toilet
With the bolts removed, gently rock the toilet back and forth to break the seal. Have an assistant help you lift the heavy porcelain unit straight up and set it aside on a protective sheet of cardboard. Be careful not to damage the floor or the wax ring as you move it.
Cleaning the Flange and Preparing for the New Wax Ring

Remove Residual Wax
Using a putty knife, scrape away all remnants of the old wax ring from both the flange and the toilet’s horn (the recessed area at the base). A clean surface ensures a proper seal for the new ring.
Inspect the Flange
Check the flange for cracks, corrosion, or misalignment. The flange should sit level with the finished floor; if it sits below the floor surface, consider using a flange extender or a thicker wax ring. If the flange is severely damaged, replacement is the safest option.
Replace Closet Bolts if Needed
Old bolts can become stripped or bent over time. Installing new, stainless‑steel closet bolts will make re‑securing the toilet easier and reduce the risk of future leaks.
Installing the New Wax Ring
Choosing the Right Wax Ring
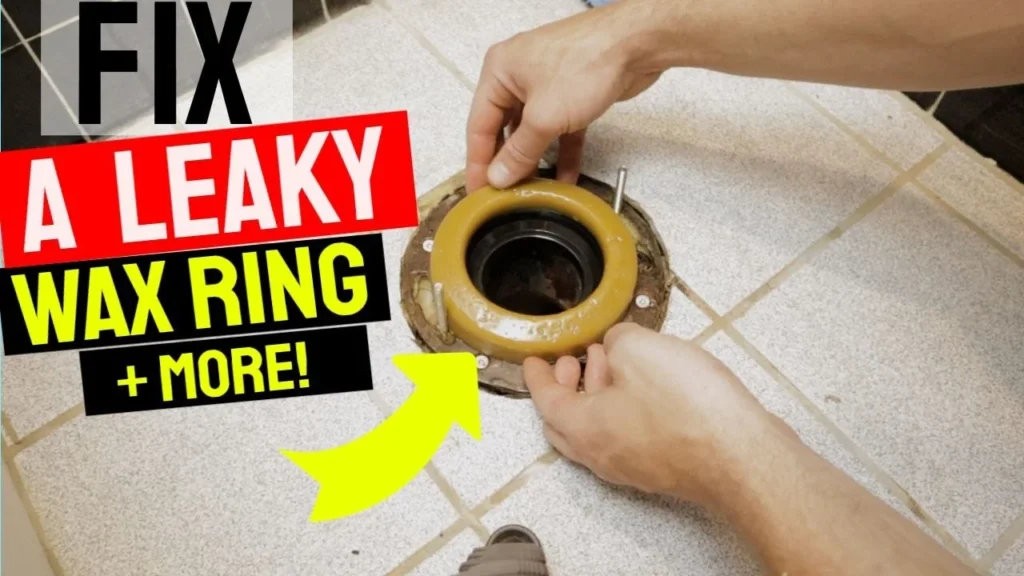
Standard wax rings work for most installations, but if your flange is slightly lower than the floor, a reinforced wax ring with a plastic funnel (sometimes called a “wax ring with a sleeve”) provides a better seal.
Position the Wax Ring
Place the wax ring directly onto the flange, centering it over the opening. Some DIYers prefer to set the wax ring on the toilet’s horn instead; either method works as long as the wax makes full contact with both surfaces.
Set the Toilet Back in Place
With the help of an assistant, carefully lower the toilet onto the wax ring, aligning the closet bolts with the holes in the base. Apply steady pressure to compress the wax evenly, creating a tight seal. Avoid rocking or sliding the toilet, as this can break the seal.
Secure the Toilet
Place washers and nuts onto the closet bolts and tighten them alternately to keep the toilet level. Use a level to check that the bowl is perfectly horizontal; tighten bolts just enough to prevent movement without cracking the porcelain.
Reconnect the Water Supply
Reattach the water supply line to the tank, tighten the nut, and turn the shut‑off valve back on. Allow the tank to fill and flush the toilet a few times, checking for any signs of leakage around the base.
Optional: Apply Silicone Sealant
For extra protection, run a thin bead of silicone caulk around the base of the toilet where it meets the floor. This step is optional but can help prevent water from seeping under the toilet if the wax seal ever weakens.
Common Mistakes and How to Avoid Them

Using an Improperly Sized Wax Ring
A wax ring that’s too small won’t cover the entire flange, leading to leaks. Always measure the flange opening and select a ring that matches or slightly exceeds that dimension.
Not Leveling the Toilet
If the toilet is tilted, the wax seal will be uneven, causing water to seep out. Use a level after seating the toilet and adjust the bolts as needed before fully tightening.
Over‑Tightening the Closet Bolts
Applying too much torque can crack the porcelain base. Tighten just enough to keep the toilet snug and level; you should feel resistance before the bolts are fully tightened.
Ignoring Flange Damage
Attempting to reuse a cracked or severely corroded flange often results in persistent leaks. Replace a damaged flange promptly to ensure a reliable seal.
When to Call a Professional
Most homeowners can replace a wax ring without professional assistance, but certain situations warrant a plumber’s expertise. If you discover extensive water damage, a broken or missing flange, or persistent leaks after a proper installation, it’s wise to seek professional help. Additionally, older homes with unique plumbing configurations (e.g., cast‑iron flanges) may require specialized tools and knowledge.
Maintenance Tips to Prolong Your Wax Ring’s Life
Regular Inspections
Check the base of the toilet quarterly for signs of moisture, discoloration, or a wobble. Early detection can prevent a full‑blown leak.
Mindful Flushing
Avoid flushing large amounts of paper, sanitary products, or foreign objects that could strain the seal. Overuse of harsh chemicals can also degrade the wax over time.
Seal Around the Base Periodically
Even with a perfect wax seal, applying a thin line of silicone caulk annually can add an extra barrier against water infiltration, especially in high‑humidity environments.
Replacing a wax ring is a straightforward DIY project that saves both time and money when executed correctly. By following the steps outlined above, you’ll eliminate leaks, restore stability, and enjoy a dry, odor‑free bathroom once again. Remember, the key to success lies in thorough preparation, careful alignment, and a gentle but firm hand when seating the toilet. With a little practice, you’ll have the confidence to handle this repair—or any similar bathroom maintenance task—on your own.
