 Admin
Admin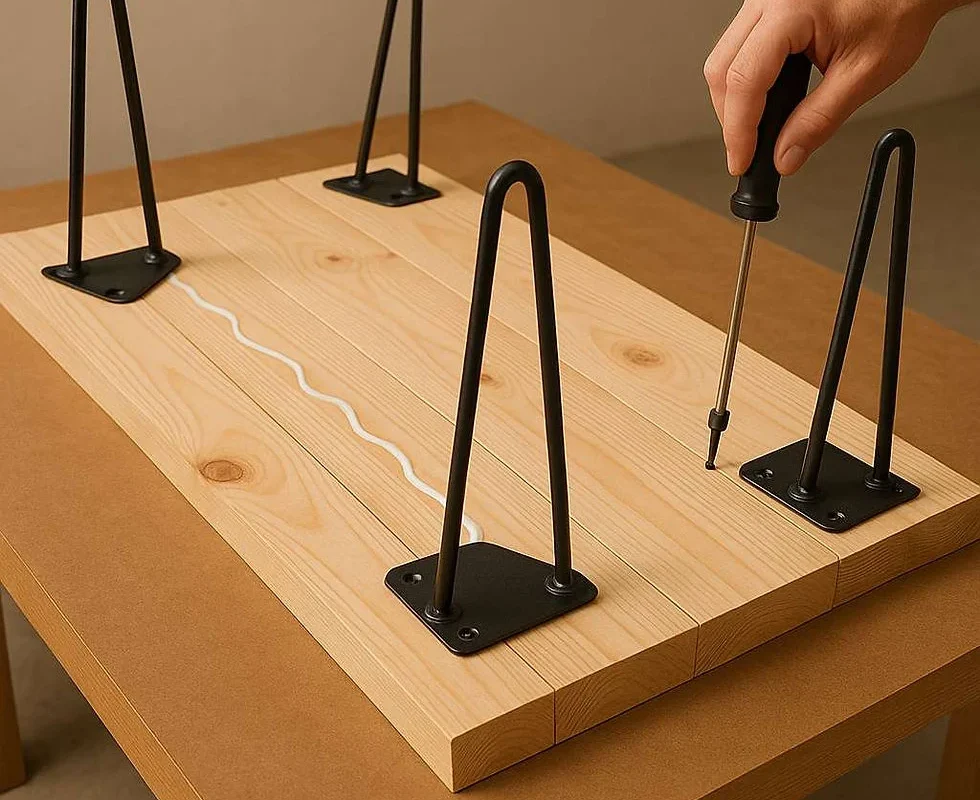
Creating a coffee table from scratch is a rewarding project that lets you personalize a central piece of your living space. While many DIY enthusiasts focus on tabletop surfaces, the legs often receive far less attention, even though they define the table’s aesthetic, stability, and overall feel. Selecting or crafting the right Diy Coffee Table Legs can transform a simple slab into a statement piece that blends seamlessly with your interior design.
In this comprehensive guide, we explore everything from conceptualizing leg styles to choosing materials, mastering joinery, and applying finishes that protect and enhance your work. Whether you’re a seasoned woodworker or a beginner eager to try a small-scale project, the information herein will equip you with the knowledge to design and build sturdy, beautiful legs that complement any décor.
We’ll also address common pitfalls—like wobble, mismatched height, and inadequate support—and provide practical solutions so your coffee table not only looks great but lasts for years. Let’s dive into the world of Diy Coffee Table Legs and discover how a thoughtful approach to leg construction can elevate your furniture‑making game.
Diy Coffee Table Legs: Choosing the Right Style and Material

The first decision in any Diy Coffee Table Legs project is the visual language you want your table to speak. Classic designs such as tapered wooden legs evoke a timeless, mid‑century vibe, while metal hairpin legs add a light, industrial touch. For a modern look, consider sculptural metal or acrylic legs that create a sense of floating space.
Material selection is equally crucial. Solid hardwoods like oak, walnut, or maple offer strength and a warm grain that can be stained or left natural. Softwoods such as pine are easier to work with for beginners but may require reinforcement if the table will bear heavy loads. Metal legs—steel, aluminum, or brass—provide sleek durability but demand welding or precise machining.
- Wood: Ideal for traditional aesthetics; easy to shape with standard carpentry tools.
- Metal: Offers a contemporary feel; requires welding or bolt‑on hardware.
- Mixed media: Combines wood tops with metal or acrylic legs for contrast.
When planning your Diy Coffee Table Legs, keep the overall height of the table in mind. The standard coffee table height ranges from 16 to 18 inches, but you can adjust based on the sofa seat height or personal preference. Use a mock‑up or cardboard template to visualize the leg proportions before cutting any material.
Diy Coffee Table Legs: Tools and Safety Tips
Regardless of the material you choose, having the right tools and following safety protocols ensures a smooth construction process. Below is a checklist of essential tools for building Diy Coffee Table Legs:
- Measuring tape and carpenter’s square – for accurate dimensions.
- Circular saw or miter saw – to cut wood or metal to length.
- Router or hand plane – for shaping tapered legs or smoothing surfaces.
- Drill and assorted bits – for pilot holes and attaching hardware.
- Welding machine (if using metal) – for seamless joints.
- Clamps – to hold pieces firmly while gluing or screwing.
Safety should never be an afterthought. Always wear eye protection, hearing protection, and a dust mask when cutting wood. For metal work, gloves and a welding helmet are mandatory. Keep your workspace well‑ventilated and tidy to avoid tripping hazards.
Designing Leg Geometry: From Simple to Sculptural
Leg geometry influences both the table’s stability and its visual weight. Simple straight legs are the easiest to fabricate and provide a clean, minimalist look. However, if you’re aiming for a more dynamic presence, explore variations such as:
- Tapered legs: Gradually narrow toward the foot, creating an elegant silhouette.
- Angled or splayed legs: Spread outward for a broader base, enhancing stability.
- Bracketed legs: Incorporate metal brackets that support the tabletop without visible vertical members.
- Round or turned legs: Use a lathe to achieve classic, rounded profiles.
When designing these shapes, consider the load distribution. A coffee table typically supports books, trays, and decorative items, so the legs must handle both static weight and occasional dynamic forces. Engineering the joint—whether using mortise‑and‑tenon, dowels, or metal brackets—will determine how well the Diy Coffee Table Legs resist wobble.
Integrating Decorative Details into Diy Coffee Table Legs
Adding subtle decorative touches can turn functional legs into artistic statements. Carving patterns into wooden legs, applying a brushed metal finish, or incorporating reclaimed hardware are all effective methods. For example, you might embed a small DIY Chair Sashes – Transform Your Seating with Simple Techniques motif into the leg’s side panels, echoing a cohesive design language throughout your furniture collection.
Another option is to paint or powder‑coat metal legs in matte black or vibrant colors that pop against a natural wood top. If you opt for acrylic, consider frosted or tinted options that play with light and shadow.
Construction Steps: Building Robust Diy Coffee Table Legs
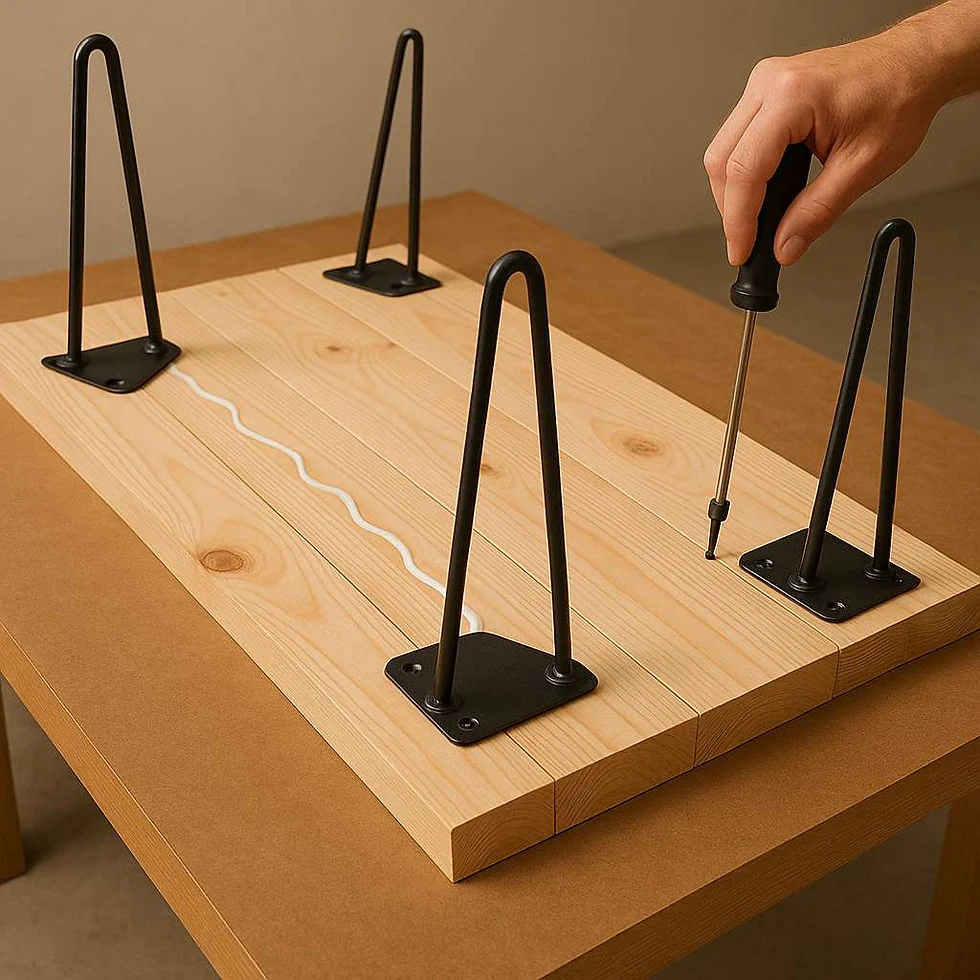
Below is a step‑by‑step workflow that guides you from raw material to finished leg assembly. Adjust the sequence to suit your chosen material and design.
Step 1: Drafting a Detailed Plan
Start by sketching your leg design on paper or a digital tool. Include dimensions, angles, and joinery details. Create a cut list that specifies length, width, and thickness for each component. This plan will serve as a reference throughout the build and help you calculate material costs.
Step 2: Cutting and Shaping
Measure twice, cut once. Mark the cut lines on your wood or metal stock, then use a saw to make straight cuts. For tapered wood legs, set up a table saw with a tapering jig or use a router with a tapering bit. Sand the raw edges with progressively finer grit to achieve a smooth surface.
Step 3: Preparing Joinery
Choose a joinery method that matches your skill level and the leg’s design. Common options include:
- Mortise‑and‑tenon – offers strong, traditional connections.
- Dowels – simple and effective for aligning legs to the tabletop apron.
- Metal brackets – quick to install, especially for metal or mixed‑media legs.
- Pocket screws – fast, with hidden hardware.
Drill pilot holes where needed, and apply wood glue or appropriate adhesive for metal. Clamp the joints firmly and let them cure according to the manufacturer’s recommendations.
Step 4: Attaching Legs to the Tabletop
If your tabletop includes an apron (a peripheral frame), position the legs at the interior corners, ensuring they are flush with the apron’s inner face. For leg‑less designs that rely on a central pedestal, secure the legs to a sturdy metal plate affixed beneath the tabletop. Use screws of adequate length to penetrate both the leg and the apron without protruding.
Step 5: Finishing
Finishing not only enhances aesthetics but also protects the legs from wear. For wood, consider a two‑part system: a penetrating oil or stain followed by a polyurethane topcoat. For metal, a clear powder coat or rust‑inhibiting primer topped with paint adds durability. Apply finishes in a well‑ventilated area, following the grain direction for wood and ensuring even coverage for metal.
Testing Stability and Making Adjustments
After assembly, place the coffee table on a level surface and test for wobble. Sit or press gently on each corner to observe any movement. If instability appears, check the following:
- Leg length uniformity – use a carpenter’s level to verify each leg’s height.
- Joint tightness – tighten any loose screws or re‑clamp glue joints.
- Floor contact – add felt pads or rubber glides to compensate for uneven flooring.
Small adjustments, such as sanding the leg foot or adding shims, can resolve most issues without compromising the design.
Creative Variations for Diy Coffee Table Legs
Once you’ve mastered the basics, experiment with alternative concepts. For instance, replace traditional legs with a single central pedestal that mimics a modern sculpture. Or, integrate reclaimed industrial piping for an eclectic vibe that pairs well with a rustic wooden top. Explore ideas from Dining Tables Pinterest: Top Inspiration & Buying Guide to see how designers combine leg forms with unique tabletop materials.
Another exciting avenue is to combine Dining Room Table Bases for Glass Tops – Choosing the Perfect Support concepts with coffee‑table dimensions, creating a sleek glass‑topped coffee table supported by sculptural metal bases.
Maintenance and Longevity of Your Diy Coffee Table Legs
Proper care prolongs the life of your legs. For wooden legs, avoid exposing them to direct sunlight for extended periods, as UV rays can cause fading. Use coasters and placemats to minimize moisture and heat damage. Periodically tighten any hardware and reapply a protective finish if the surface shows signs of wear.
Metal legs benefit from regular dusting to prevent corrosion, especially in humid environments. If you notice rust spots, lightly sand them away and touch up with a rust‑inhibiting primer followed by paint.
Finally, consider the mobility of your coffee table. Adding small caster wheels with locking mechanisms can make it easier to rearrange your living room while preserving the integrity of the legs.
By paying attention to design, material choice, precise construction, and ongoing maintenance, your Diy Coffee Table Legs will serve as a functional foundation and an eye‑catching element in your home. The satisfaction of sitting down at a table you built yourself—knowing every leg was crafted with intention—adds a personal touch that mass‑produced furniture simply cannot replicate.