 Admin
AdminReplacing the wax ring on a toilet is one of those home‑maintenance tasks that sounds intimidating until you see how straightforward it really is. The wax ring, a simple doughnut‑shaped seal, sits between the toilet base and the floor flange, creating a watertight barrier that stops waste and water from escaping into your bathroom. When that seal fails, you’ll notice water pooling around the base, a foul odor, or even a slow leak that can damage subflooring over time. By learning how to replace the wax ring on a toilet yourself, you gain control over a common plumbing issue, avoid costly professional calls, and extend the life of your bathroom fixtures.
In this comprehensive guide, we’ll walk you through every stage of the replacement—from gathering the right tools to ensuring a perfect seal the first time. Whether you’re a seasoned DIY enthusiast or a homeowner tackling the job for the first time, the detailed instructions and pro tips will empower you to fix the problem quickly and confidently. Let’s dive in and get that toilet back to a leak‑free condition.
Understanding the Role of the Wax Ring
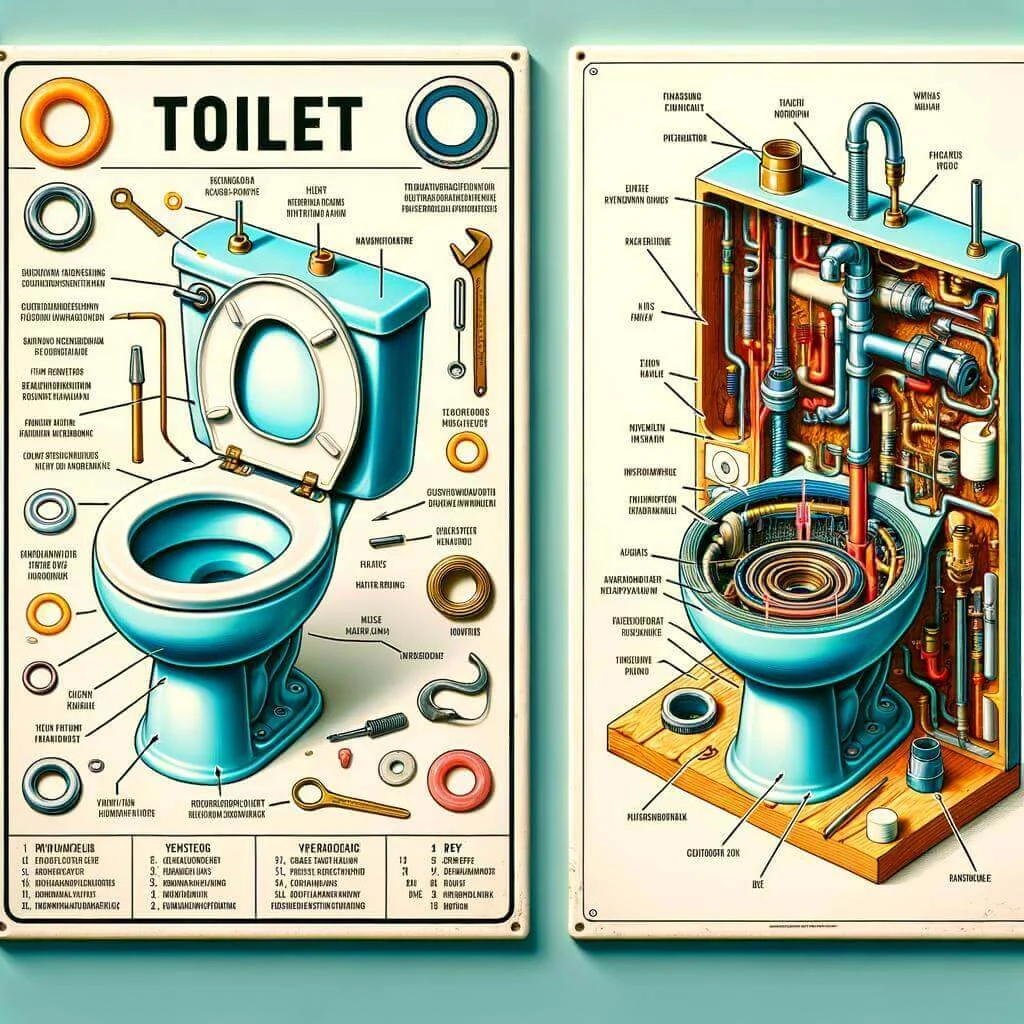
The wax ring is more than just a cheap gasket; it’s the critical component that connects the toilet to the waste pipe while maintaining a complete seal. Made from pliable wax (often infused with silicone or rubber for added durability), the ring compresses under the weight of the toilet, filling any gaps between the porcelain and the flange. This compression prevents sewer gases from seeping into your home and stops water from leaking onto the floor.
Why Wax Rings Fail
- Age and Wear: Over time, the wax can become brittle or melt, losing its sealing capability.
- Improper Installation: Misaligned or unevenly tightened bolts can compress the ring unevenly, creating leaks.
- Movement: A toilet that rocks or shifts can gradually break the seal, especially on older floors.
- Chemical Exposure: Harsh cleaning agents may degrade the wax material.
Tools and Materials You’ll Need
Before you start, gather the following items. Having everything on hand speeds up the process and reduces the chance of interruptions.
- New wax ring (consider a reinforced wax‑silicone hybrid for added durability)
- Adjustable wrench or a set of socket wrenches
- Flat‑head screwdriver
- Putty knife or scraper
- Rubber gloves
- Old towels or rags
- Bucket (to catch any residual water)
- Plumber’s putty (optional, for sealing the bolt caps)
- Level (to ensure the toilet sits evenly)
Step‑by‑Step Guide to Replacing the Wax Ring

1. Shut Off the Water Supply
Locate the shut‑off valve behind the toilet and turn it clockwise until it stops. Open the flush valve to drain any remaining water from the tank and bowl. Use a sponge or towels to soak up the last few drops that linger in the trap.
2. Disconnect the Supply Line
Using an adjustable wrench, loosen the nut that connects the water supply line to the bottom of the tank. Have a bucket ready to catch any stray water.
3. Remove the Toilet
Locate the two (sometimes three) bolts that secure the toilet to the floor flange. Loosen and remove the caps, then use a wrench to unscrew the nuts. Gently rock the toilet back and forth to break the seal, then lift it straight up. It’s advisable to have a helper for this step, as toilets can weigh over 200 lb.
4. Prepare the Flange and Toilet Base
Scrape away the old wax residue from both the flange and the toilet’s outlet (the horn). Use a putty knife to clean the surface, ensuring a smooth, even area for the new ring. Inspect the flange for cracks; if it’s damaged, replace it before proceeding.
5. Install the New Wax Ring
Center the new wax ring over the flange. Some installers prefer to place the ring on the toilet outlet first, then set the toilet onto it—either method works as long as the ring stays centered. If you’re using a reinforced ring, follow the manufacturer’s orientation guidelines.
6. Reset the Toilet
Carefully lower the toilet back onto the flange, aligning the bolt holes with the closet bolts. Apply steady, even pressure to compress the wax ring fully. Use a level to confirm the toilet sits evenly; an uneven toilet can cause future leaks.
7. Secure the Toilet
Replace the bolt caps and tighten the nuts on the closet bolts. Be careful not to overtighten, as this can crack the porcelain or crush the wax ring. A snug, firm fit is sufficient.
8. Reconnect the Water Supply
Reattach the water supply line, tighten the nut, and turn the shut‑off valve back on. Allow the tank to fill, then flush a few times while watching the base for any signs of leakage.
9. Final Checks
Inspect the floor around the toilet for water droplets. If you see any, tighten the bolts slightly and ensure the wax ring is properly seated. Once you’re confident there are no leaks, replace any decorative bolt caps and clean up the work area.
Common Mistakes and How to Avoid Them

- Skipping the flange inspection: A cracked or corroded flange will undermine even the best wax ring. Replace it if you notice damage.
- Using the wrong size ring: Ensure the ring matches the toilet’s outlet size. An ill‑fitting ring can lead to gaps.
- Over‑tightening bolts: Excessive force can crack the toilet base or compress the wax too much, causing it to extrude.
- Neglecting to level the toilet: An uneven toilet creates stress points that break the seal over time.
- Not cleaning old wax thoroughly: Residual wax prevents a proper seal and can cause uneven compression.
Pro Tips for a Long‑Lasting Seal

Choose a Reinforced Wax Ring
Modern wax rings often incorporate a thin layer of silicone or rubber, providing extra resilience against movement and temperature fluctuations. This upgrade can dramatically extend the life of your seal.
Consider a Wax-Free Alternative
If you’ve experienced repeated failures, a wax‑free gasket (made of rubber or foam) may be a worthwhile investment. These products are reusable and less messy, though some plumbers still prefer traditional wax for its proven reliability.
Apply Plumber’s Putty to Bolt Caps
Sealing the bolt caps with a dab of plumber’s putty adds an extra barrier against water infiltration, especially in high‑humidity bathrooms.
Regularly Check for Toilet Rocking
Place a small piece of cardboard between the base and the floor; if it slides out easily, the toilet isn’t level. Re‑adjust the bolts and ensure the wax ring is still intact.
Link to Related Resources
For additional guidance on bathroom upgrades, see our Design Fundamentals for a Jack and Jill Bathroom. If you’re dealing with other plumbing issues, our guide on The Ultimate Guide to Point of Use Electric Tankless Water Heaters offers valuable insights. And if you want a quick recap of wax ring replacement best practices, check out Replace Wax Ring Like a Pro: Stop Leaks and Save Money.
By following these detailed instructions and incorporating the expert tips, you can confidently replace a wax ring on any standard toilet. The process not only prevents unsightly leaks but also protects your flooring and substructure from water damage. With a little patience and the right tools, you’ll have a sealed, stable toilet that functions flawlessly for years to come.